Transforming your home’s exterior with vinyl siding is a significant investment, and choosing the right contractor is paramount. This comprehensive guide navigates the complexities of finding, hiring, and working with vinyl siding contractors, ensuring you make informed decisions every step of the way. From understanding the installation process and budgeting effectively to selecting the perfect color and style, we’ll cover it all. Get ready to unlock the secrets to a successful siding project that enhances your home’s curb appeal and value.
We’ll delve into crucial aspects like verifying licenses and insurance, deciphering online reviews, and negotiating prices. Learn to identify reputable contractors who prioritize customer satisfaction and deliver high-quality workmanship. This guide isn’t just about finding a contractor; it’s about building a partnership that results in a beautiful, long-lasting exterior for your home.
Finding Reputable Vinyl Siding Contractors
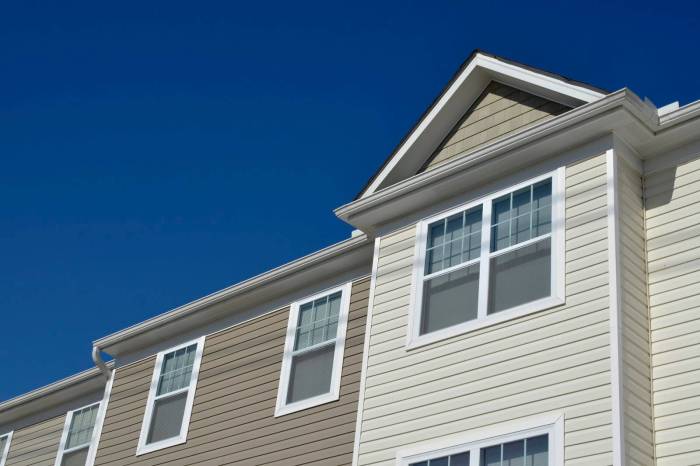
Choosing the right contractor for your vinyl siding project is crucial. A poorly executed job can lead to costly repairs, aesthetic disappointments, and even structural damage. This guide will equip you with the knowledge to select a reputable professional who delivers quality workmanship and exceptional customer service. Don’t let a bad contractor ruin your home improvement dreams.
Evaluating Contractor Reputation
Several key criteria help determine a contractor’s reliability and professionalism. Thorough vetting is essential to avoid potential pitfalls. Ignoring these steps could lead to significant financial and emotional setbacks.
| Criteria | Importance | How to Check | Red Flags |
|---|---|---|---|
| Licensing and Insurance | Critical – Protects you from liability. | Contact your state’s licensing board; request proof of insurance (general liability and workers’ compensation). | Lack of licensing, expired licenses, or refusal to provide proof of insurance. |
| Years of Experience | High – Indicates established expertise and a track record. | Check their website, online profiles, and request references. | Extremely short tenure in business or vague descriptions of experience. |
| Customer Reviews and Testimonials | Very High – Reflects past customer satisfaction. | Search online review sites (Google, Yelp, etc.) and check for consistency across platforms. | Overwhelmingly negative reviews, suspiciously positive reviews with little detail, or a lack of reviews altogether. |
| References and Portfolio | High – Provides tangible evidence of past work quality. | Contact references provided and examine photos/videos of completed projects. | Refusal to provide references or showcase their work. Inconsistencies between claimed expertise and completed projects. |
| Detailed Contract | Critical – Protects your interests legally. | Review the contract carefully; ensure it includes specifics on materials, timelines, payment schedules, and warranty information. | Vague or incomplete contracts, missing crucial details, or pressure to sign quickly without review. |
Verifying Contractor Licenses and Insurance
Verifying a contractor’s licensing and insurance is paramount. It safeguards you against potential financial losses due to negligence or accidents. Contact your state’s contractor licensing board directly to confirm their license status and check for any disciplinary actions. Request copies of their general liability and workers’ compensation insurance certificates. These documents should clearly display the contractor’s name, policy numbers, coverage amounts, and effective dates. A reputable contractor will readily provide this information.
Identifying Contractors with High Customer Satisfaction
Several effective strategies help uncover contractors with a proven track record of satisfied customers. First, actively seek out online reviews and testimonials. Second, request references from previous clients. Third, check with the Better Business Bureau (BBB) to see if there are any complaints filed against the contractor. These methods provide valuable insights into their past performance and client relationships.
Analyzing Online Reviews and Testimonials
Online reviews are a powerful tool, but discerning genuine reviews from fake ones is vital. Look for reviews that are detailed, specific, and consistent across multiple platforms. Beware of reviews that are overly generic, lack specifics, or seem suspiciously positive. Consider the overall pattern of reviews. A few negative reviews are normal, but a consistent stream of negative feedback should raise concerns. Also, be cautious of reviews that are all posted around the same time or lack personal details. A balanced and consistent pattern of positive reviews across multiple platforms is a strong indicator of a reputable contractor.
The Vinyl Siding Installation Process
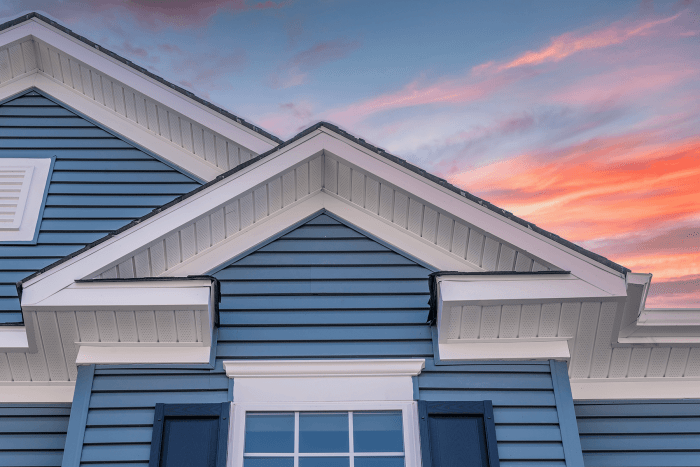
Choosing the right vinyl siding contractor is only half the battle. Understanding the installation process itself empowers you to make informed decisions and ensure a quality outcome. This detailed breakdown will equip you with the knowledge to effectively oversee your project and achieve the beautiful, long-lasting results you desire.
A successful vinyl siding installation is a meticulously planned and executed process. From initial assessment to final cleanup, each step plays a crucial role in the longevity and aesthetic appeal of your new siding. Ignoring any step can lead to costly repairs down the line, impacting both your budget and your property’s value.
Vinyl Siding Installation Steps
The installation process typically unfolds in a series of well-defined stages. Each stage is critical for a successful outcome, ensuring a seamless, attractive, and durable finish. Careful attention to detail at each stage is key to preventing future problems.
- Initial Consultation and Assessment: The contractor visits your property, assesses the existing structure, discusses your needs and preferences (color, style, etc.), and provides a detailed estimate.
- Preparation and Measurements: Accurate measurements of the house’s exterior are taken. Existing siding, trim, and flashing are inspected for damage or rot. Necessary repairs are addressed before new siding installation begins. This step is crucial for a precise and efficient installation.
- Surface Preparation: This involves cleaning the exterior walls, repairing any damaged areas, and ensuring a smooth, level surface for the new siding. This may include removing old siding, patching holes, and addressing any water damage.
- Installation of Sheathing (if necessary): Depending on the condition of your existing wall, additional sheathing might be required for insulation or structural support. This step provides a solid foundation for the vinyl siding.
- Installation of Starter Strips and J-Channels: These components provide a clean, even edge and help maintain alignment throughout the installation process. They are installed at the bottom and corners of the walls.
- Vinyl Siding Installation: The vinyl siding panels are installed, overlapping each other and locking into place. This process requires precision and attention to detail to ensure a watertight seal.
- Installation of Trim and Accessories: This step includes installing window and door trim, corner boards, and other accessories to complete the look and provide added protection.
- Final Inspection and Cleanup: A thorough inspection is conducted to ensure all panels are properly installed and sealed. All debris and leftover materials are removed from the property.
Types of Vinyl Siding
Various types of vinyl siding cater to different budgets and aesthetic preferences. Understanding their pros and cons helps you choose the best option for your home.
| Siding Type | Pros | Cons | Cost Range |
|---|---|---|---|
| Standard Vinyl Siding | Affordable, easy to install, low maintenance | Can be susceptible to damage from strong impacts, less durable than some other options | $3-$6 per square foot |
| Double 4-inch Vinyl Siding | Thicker, more durable, better insulation | More expensive than standard siding | $4-$7 per square foot |
| Dutch Lap Vinyl Siding | Classic look, adds visual interest | Slightly more complex installation, can be more expensive | $4.50-$8 per square foot |
| Insulated Vinyl Siding | Improved insulation, energy efficiency | Most expensive option, can be more difficult to install | $6-$10 per square foot |
Vinyl Siding Installation Preparation
Thorough preparation is paramount for a successful vinyl siding installation. Skipping this crucial step can lead to significant problems later, resulting in costly repairs and potential structural damage.
Preparation involves a comprehensive assessment of the existing exterior walls. This includes a meticulous inspection for any damage, rot, or insect infestation. All such issues must be addressed before the installation begins. Accurate measurements are also crucial for determining the precise amount of siding needed and preventing material waste. Finally, cleaning the exterior walls removes dirt, debris, and loose paint, ensuring proper adhesion of the new siding.
Vinyl Siding Installation Flowchart
Visualizing the installation process as a flowchart simplifies understanding and management. This helps ensure all steps are completed in the correct order and nothing is overlooked.
Imagine a flowchart with the following boxes connected by arrows: Start –> Consultation & Assessment –> Preparation & Measurements –> Surface Preparation –> Sheathing (if needed) –> Starter Strips & J-Channels –> Vinyl Siding Installation –> Trim & Accessories –> Final Inspection & Cleanup –> End. Each box represents a stage, and the arrows indicate the sequential flow of the project.
Cost and Budgeting for Vinyl Siding
Planning a vinyl siding project requires a realistic understanding of the costs involved. Ignoring this crucial aspect can lead to significant budget overruns and project delays. This section provides a detailed breakdown of the factors influencing the total cost and offers strategies for effective budgeting and negotiation.
Factors Influencing Vinyl Siding Installation Costs
Several key factors contribute to the overall cost of your vinyl siding installation. Understanding these elements is critical for accurate budgeting and informed decision-making.
- House Size and Complexity: The square footage of your home’s exterior directly impacts material needs. More complex architectural features, such as multiple gables, dormers, or intricate trim work, increase labor costs due to increased time and precision required.
- Vinyl Siding Grade and Style: Vinyl siding comes in various grades and styles, ranging from basic to premium options. Higher-grade siding often offers enhanced durability, color retention, and warranties, but comes at a higher price point. Similarly, intricate styles add to the overall cost.
- Labor Costs: Labor costs vary significantly depending on geographical location, contractor experience, and project complexity. Experienced contractors often command higher rates, but their expertise can translate to a higher-quality installation and potentially fewer future problems.
- Material Costs: The cost of vinyl siding itself fluctuates based on market conditions and material availability. Factors like fuel prices and raw material costs can influence the final price of your materials.
- Permits and Inspections: Most localities require permits for exterior renovations. These permits and associated inspections add to the overall project cost.
- Removal of Existing Siding: If you’re replacing existing siding, the cost of removal and disposal will add to the overall budget. The condition of the existing siding also affects this cost; removal of damaged or deteriorated siding requires more labor.
- Preparation and Repairs: Before installation, the existing wall sheathing may need repairs or preparation, adding to the project expense. This can include addressing rotted wood or other underlying issues.
- Additional Features: Adding features like trim, soffit, and fascia vinyl also increases the overall project cost. These elements are often sold separately and require additional labor.
Pricing Structures of Vinyl Siding Contractors
Contractors typically employ one of several pricing structures. Understanding these structures is essential for comparing bids and making an informed choice.
- Per Square Foot: This is a common method, where the contractor charges a fixed price per square foot of siding installed. This simplifies budgeting but might not fully account for complexities in the project.
- Hourly Rate: Some contractors charge by the hour, with the total cost dependent on the time spent on the project. This structure is more transparent but can be less predictable in terms of total cost.
- Fixed Price Contract: A fixed-price contract specifies a total cost upfront, covering all materials and labor. This provides clarity and budget certainty, but requires a thorough initial assessment of the project scope.
Sample Budget for a 1500 sq ft House
The following table provides a sample budget for a 1500 sq ft house. Remember that these are estimates, and actual costs may vary depending on the factors discussed above.
| Item | Cost |
|---|---|
| Materials (Vinyl Siding, Trim, etc.) | $6,000 – $12,000 |
| Labor | $4,500 – $9,000 |
| Permits and Inspections | $300 – $500 |
| Waste Removal | $200 – $400 |
| Total Estimated Cost | $11,000 – $21,500 |
Negotiating Prices and Securing Discounts
Negotiating with contractors can significantly impact your final cost. Here are some effective strategies:
- Obtain Multiple Bids: Get at least three bids from different contractors to compare pricing and services.
- Negotiate Based on Value: Highlight the value you bring to the contractor, such as a streamlined project with clear specifications or a prompt payment schedule.
- Explore Payment Options: Inquire about payment plans or discounts for upfront payments.
- Bundle Services: Consider bundling additional services, like gutter installation or window repair, to potentially secure a package discount.
- Timing is Key: Contractors may offer discounts during the off-season or for projects scheduled well in advance.
Maintaining and Repairing Vinyl Siding
Vinyl siding, while durable, requires regular maintenance to ensure its longevity and aesthetic appeal. Neglecting upkeep can lead to costly repairs down the line, significantly impacting your home’s curb appeal and value. Understanding common issues and implementing preventative measures is crucial for maximizing your investment.
Common Vinyl Siding Issues and Solutions
Several problems can affect vinyl siding. Warping, caused by extreme temperature fluctuations or improper installation, can lead to buckling or sagging. Cracks and dents, often resulting from impacts or weathering, compromise the siding’s protective barrier. Fading, a consequence of prolonged sun exposure, diminishes the siding’s color vibrancy. Finally, mildew and algae growth, particularly in humid climates, can create unsightly discoloration. Addressing these issues promptly prevents further damage and maintains your home’s appearance. Warping typically requires professional attention, while minor cracks and dents can often be repaired with readily available materials. Regular cleaning helps prevent mildew and algae growth, and choosing fade-resistant vinyl can mitigate sun damage.
Cleaning and Maintaining Vinyl Siding
Regular cleaning is the cornerstone of vinyl siding maintenance. A simple solution of mild detergent and water, applied with a soft-bristled brush or sponge, effectively removes dirt and grime. For stubborn stains or mildew, a pressure washer can be used, but caution is advised to avoid damaging the siding. Maintain a safe distance and use a low-pressure setting. Always rinse thoroughly with clean water afterward. Avoid abrasive cleaners or harsh chemicals, as they can scratch or discolor the vinyl. Annual cleaning, or more frequently in areas with high humidity or pollution, is recommended. Inspecting your siding for damage after each cleaning is a simple yet effective preventative measure.
Repairing Minor Damage to Vinyl Siding
Minor damage, such as small cracks or dents, can often be repaired at home. For cracks, carefully clean the area and apply a high-quality vinyl caulk that matches the siding’s color. Smooth the caulk with a putty knife for a seamless finish. Allow it to cure completely according to the manufacturer’s instructions. For dents, gently warm the affected area with a hairdryer to soften the vinyl. Then, carefully push the dent back into place using a soft, blunt object. Avoid applying excessive pressure, which could crack the siding further. For more significant damage, it’s advisable to consult a professional siding contractor. Imagine a small dent in a light-blue section of siding. By carefully heating the area with a hair dryer, the vinyl becomes pliable enough to gently push the dent back into its original position, restoring the smooth surface.
Preventative Maintenance Tasks for Vinyl Siding
Regular preventative maintenance significantly extends the lifespan of your vinyl siding.
- Annual Cleaning: Wash siding with a mild detergent and water solution using a soft brush or sponge. Rinse thoroughly. This removes dirt, grime, and prevents mildew buildup.
- Twice-Yearly Inspection: Inspect siding for cracks, dents, loose panels, or signs of damage after each cleaning. Address minor issues immediately to prevent further problems.
- Trimming Overhanging Branches: Keep tree branches trimmed away from the siding to prevent damage from falling branches and reduce shade, which can promote mildew growth.
- Gutter Maintenance: Ensure gutters and downspouts are clean and functioning properly to divert water away from the foundation and siding, preventing water damage.
- Caulk Replacement (Every 5-7 years): Inspect and replace caulking around windows and doors to prevent water infiltration.
Following these preventative maintenance tasks will significantly extend the life of your vinyl siding and keep your home looking its best. Proactive maintenance is far more cost-effective than extensive repairs or premature replacement.
Choosing the Right Vinyl Siding Color and Style
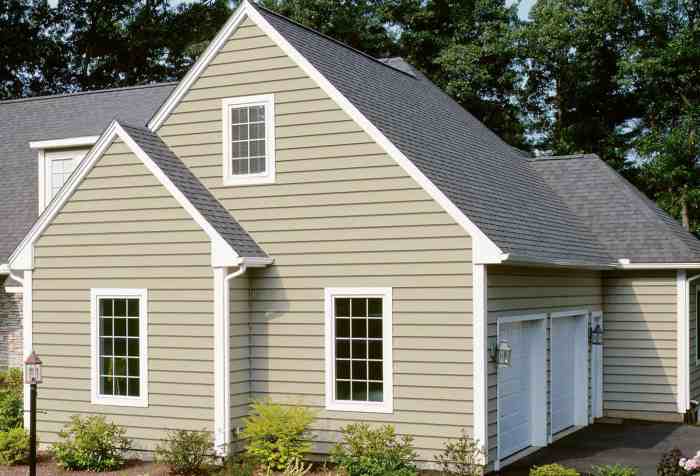
Selecting the perfect vinyl siding color and style is a crucial decision impacting your home’s curb appeal, property value, and overall aesthetic for years to come. A well-chosen siding not only enhances your home’s beauty but also protects it from the elements. This requires careful consideration of several factors, ensuring a harmonious blend of style, practicality, and longevity.
Architectural Style and Neighborhood Aesthetics
The architectural style of your home significantly influences the appropriate siding choice. A Victorian home might benefit from a more ornate, textured vinyl siding, perhaps in a deep, rich color, while a contemporary home might look best with clean lines and a modern, neutral palette. Similarly, it’s essential to consider the prevailing aesthetic of your neighborhood. Choosing a siding that clashes dramatically with the surrounding homes could negatively impact your property value. For example, a vibrant, highly contrasting color in a neighborhood of muted tones might stand out in an undesirable way. Subtlety and harmony often yield the best results.
Vinyl Siding Styles and Textures
Numerous vinyl siding styles and textures are available, each offering a unique visual effect. Consider these examples:
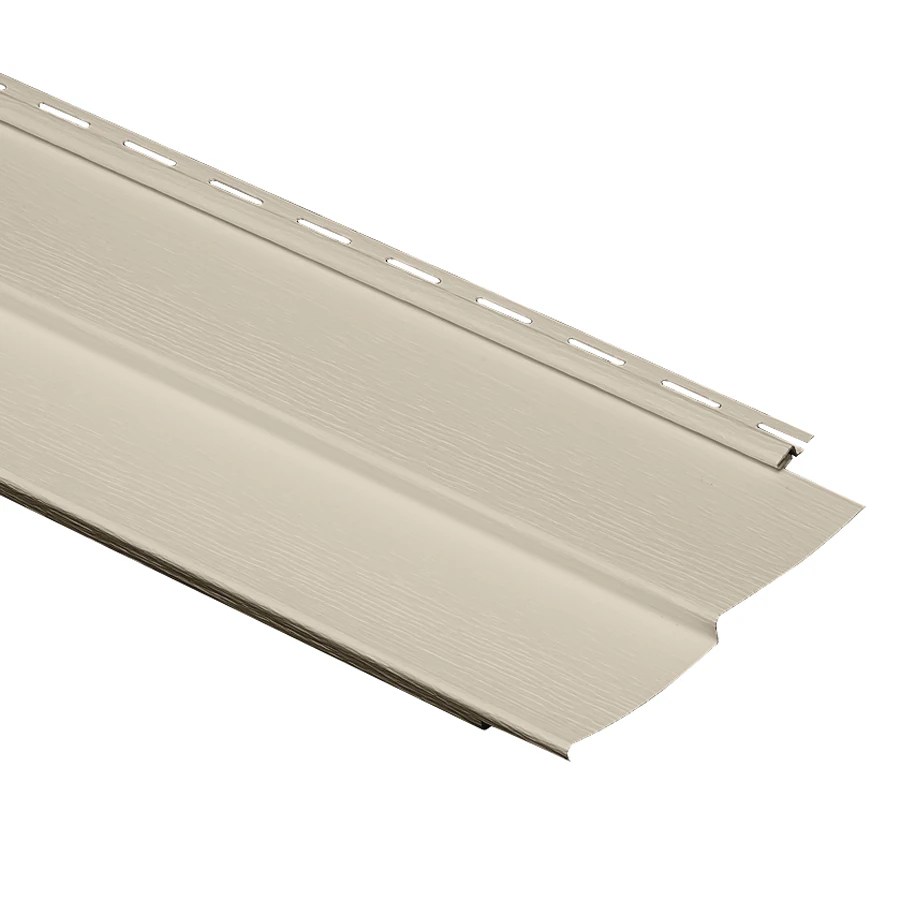
- Dutch Lap: This style mimics the look of traditional wood lap siding, offering a classic, timeless appeal suitable for various architectural styles. The slightly overlapping panels create a visually interesting texture and depth.
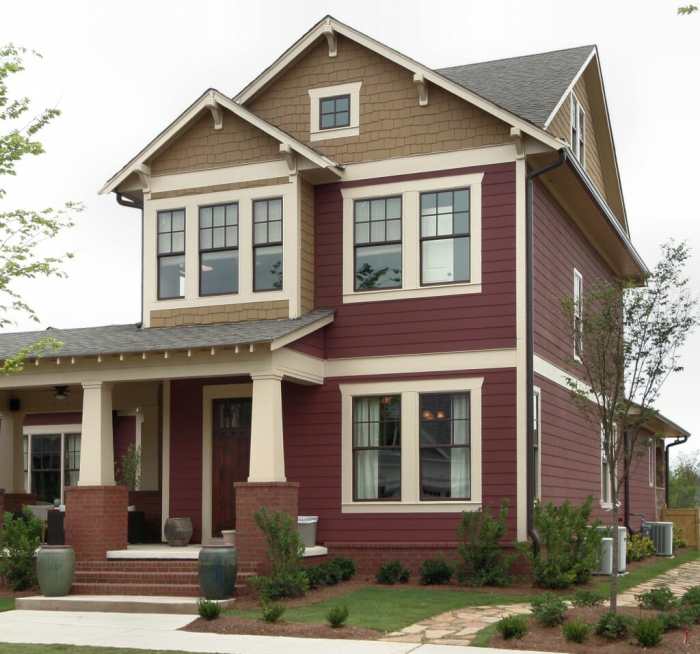
- Shake: Designed to resemble wood shakes, this style provides a rustic, textured appearance. It’s particularly well-suited for homes with a craftsman or farmhouse style. The irregular edges and slightly varied lengths contribute to a natural, less uniform look.
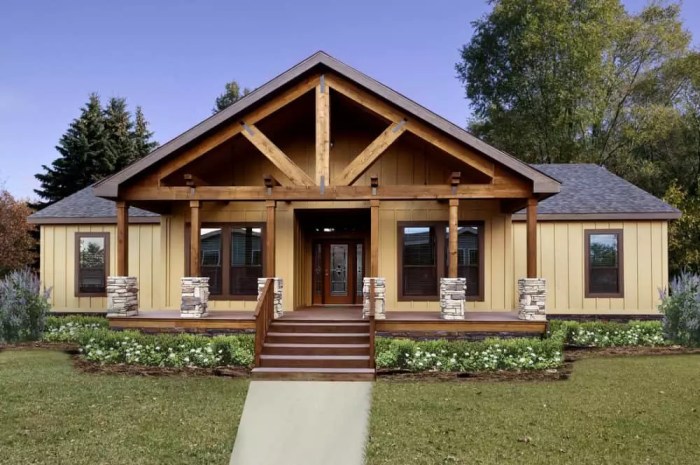
- Board and Batten: This style features wide vertical boards with narrower strips (battens) covering the seams, offering a clean, modern look. It’s a great choice for contemporary homes or those seeking a more minimalist aesthetic. The stark vertical lines provide a visually striking effect.
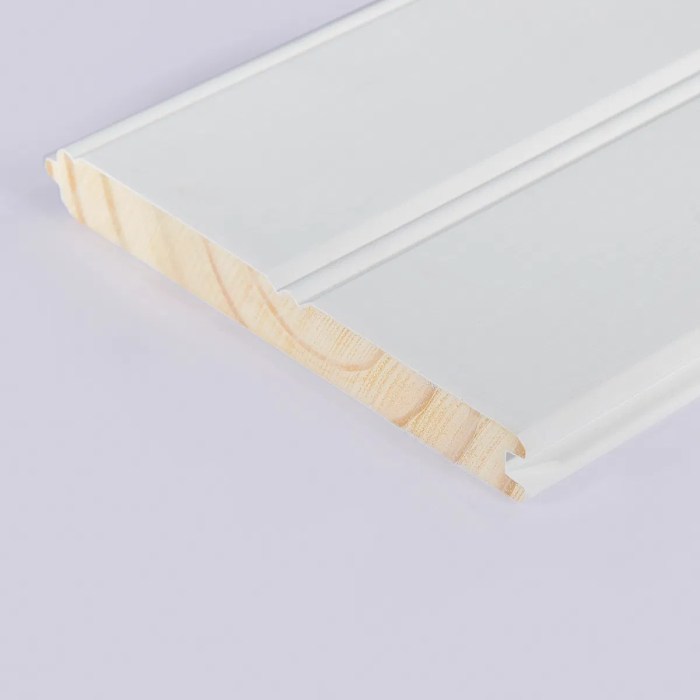
- Beaded: This style replicates the look of traditional beaded wood siding. The subtle beading adds texture and depth to the surface, creating a classic, slightly more ornate look suitable for many architectural styles.
Visual Guide: Impact of Siding Color
Imagine a simple, two-story colonial home. Visualize the same home with different siding colors:
- Warm Beige: This neutral color creates a classic, timeless look, blending seamlessly with most landscaping. It provides a sophisticated, understated elegance.
- Deep Gray: This modern, sophisticated shade offers a sleek, contemporary feel, particularly effective with clean architectural lines. It exudes a sense of calm and stability.
- Creamy White: This bright color reflects light, making the home appear larger and airier. It creates a fresh, inviting look, particularly suitable for homes in sunny climates. It can however show dirt more readily.
- Dark Navy Blue: A bold choice, this color makes a statement, creating a dramatic and striking effect. It can however appear overpowering if not carefully balanced with other elements like landscaping and trim.
Long-Term Impact of Color Choice
Your siding color choice will significantly impact your home’s curb appeal and resale value. A timeless, neutral color generally offers the best return on investment, while more vibrant or trendy colors may date more quickly. For example, a home with a dated, brightly colored siding might require repainting to attract buyers, whereas a home with a classic neutral tone may need less updating. Consider the long-term aesthetic and its potential impact on future buyers. Investing in a high-quality, durable vinyl siding in a classic color is a wise choice that will pay off in the long run.
Choosing the right vinyl siding contractor is a crucial decision impacting both the aesthetic and financial aspects of your home improvement project. By carefully considering the factors Artikeld in this guide—from reputation and licensing to cost and maintenance—you can confidently navigate the process and achieve the stunning exterior you envision. Remember, a little research and planning can save you time, money, and potential headaches down the line. So, take your time, do your due diligence, and transform your house into the home of your dreams.
Question & Answer Hub
What is the average lifespan of vinyl siding?
Vinyl siding typically lasts 20-30 years, depending on the quality of the materials and installation.
Can I install vinyl siding myself?
While possible, DIY installation is generally not recommended. Professional installation ensures proper results and protects your warranty.
How do I handle damaged vinyl siding?
Minor damage can often be repaired with patching kits. For significant damage, contact a professional contractor.
What’s the best time of year to install vinyl siding?
Spring and fall are ideal, avoiding extreme heat or cold that can impact installation quality.
Does vinyl siding require regular maintenance?
Yes, regular cleaning with soap and water and occasional inspections for damage are recommended.
