Thinking about upgrading your home’s exterior? T111 siding, with its distinctive texture and versatility, presents a compelling option. But is it the right choice for *your* project? This comprehensive guide dives deep into the world of T111 siding, exploring its properties, installation, maintenance, aesthetics, and cost considerations. We’ll arm you with the knowledge you need to make an informed decision, ensuring a successful and visually stunning outcome.
From understanding the material’s composition and durability to mastering the installation process and tackling common maintenance challenges, we’ll cover every aspect. We’ll also explore the design possibilities, showcasing how T111 siding can complement various architectural styles and enhance your home’s curb appeal. Get ready to transform your home’s exterior with confidence.
T111 Siding
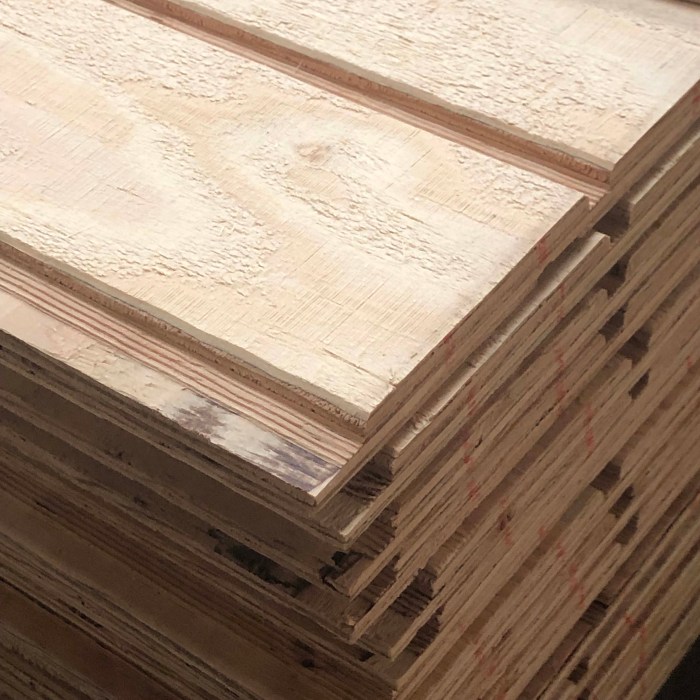
T111 siding, a staple in North American construction for decades, offers a unique blend of affordability and aesthetic appeal. Understanding its properties is crucial for homeowners and contractors alike, ensuring informed decisions about its suitability for various projects. This detailed examination will explore the material’s composition, manufacturing, durability, and available grades, ultimately providing a comprehensive overview to guide your choices.
T111 Siding Composition
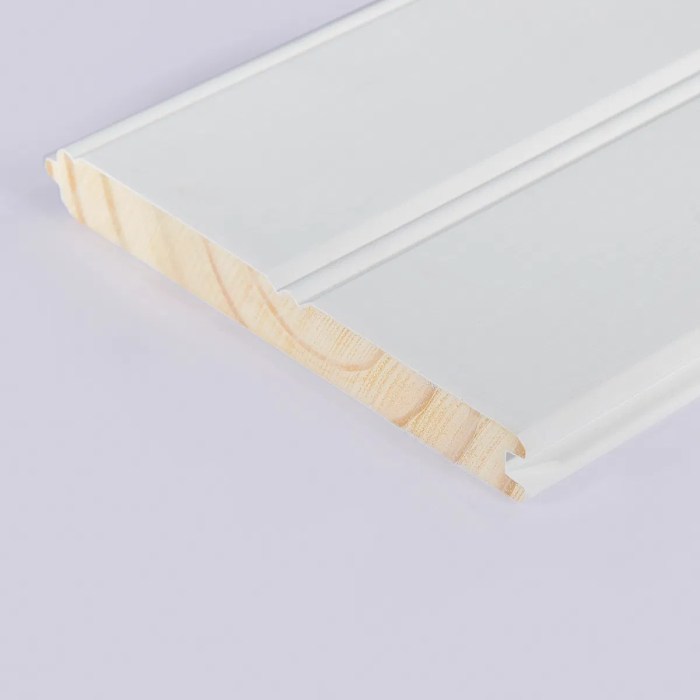
T111 siding is engineered wood, specifically a type of plywood. It’s composed of multiple layers of wood veneers, typically from softwoods like spruce, pine, or fir, bonded together with exterior-grade adhesive under high pressure. This layered construction provides strength and stability, resisting warping and shrinking better than solid wood. The outer layers are often treated with preservatives to enhance resistance to rot, decay, and insect infestation. The specific composition can vary slightly depending on the manufacturer and grade.
T111 Siding Manufacturing Process
The manufacturing process begins with the selection and preparation of the wood veneers. These are carefully graded for quality and then layered, with the grain direction of each layer oriented perpendicularly to the adjacent layer (cross-lamination). This cross-lamination is key to the siding’s strength and dimensional stability. The layers are then bonded with waterproof adhesive and pressed under immense pressure to create a solid, cohesive panel. Finally, the panels are cut to size, sanded smooth, and often treated with preservatives or a water-resistant coating before being packaged for distribution.
T111 Siding Durability Compared to Other Materials
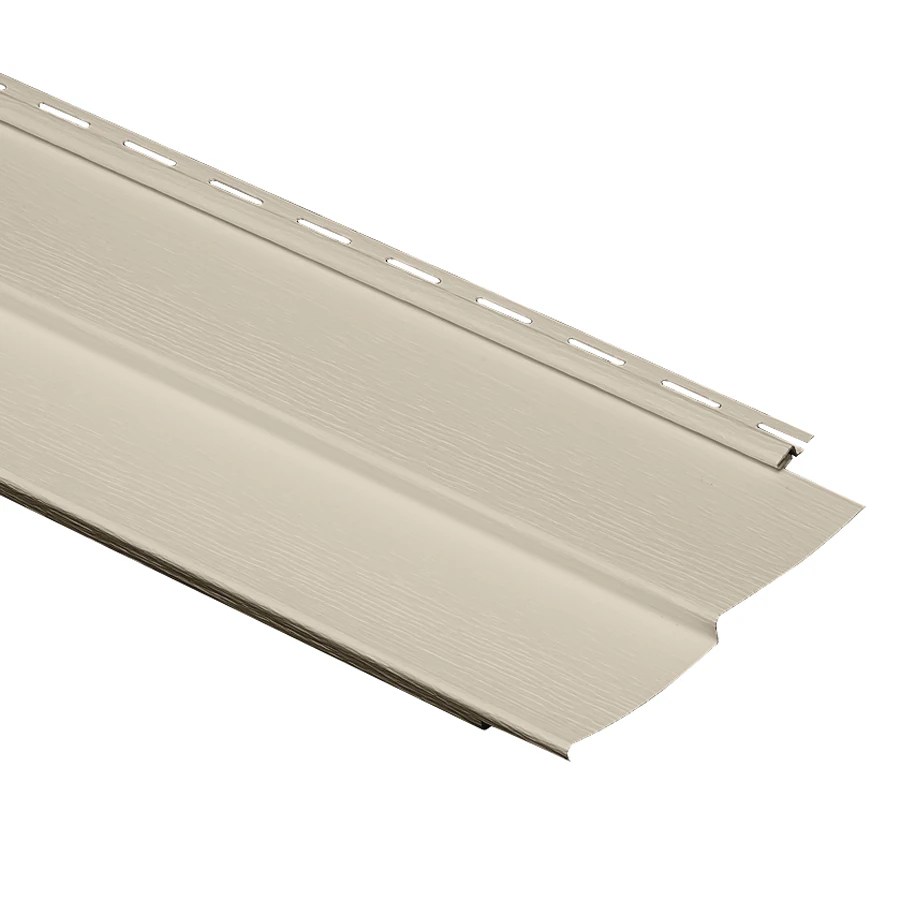
T111’s durability falls somewhere between vinyl and solid wood siding. While more durable than solid wood, which is susceptible to rot, warping, and insect damage, it’s not as impervious to the elements as vinyl. Vinyl siding is known for its low maintenance and long lifespan, often lasting for decades with minimal upkeep. T111, while requiring less maintenance than solid wood, is still vulnerable to moisture damage if not properly installed and maintained. Its lifespan is generally shorter than vinyl, but significantly longer than untreated solid wood. Proper priming and painting significantly extends its life. For example, a properly maintained T111 installation in a dry climate might last 20-30 years, while a poorly maintained one in a humid environment might only last 10-15 years. Vinyl siding, on the other hand, often boasts a 50-year lifespan or more.
T111 Siding Grades and Thicknesses
T111 siding is available in various grades and thicknesses, influencing its price and performance. Thicker siding generally offers greater durability and resistance to warping. Grades reflect the quality of the wood veneers and the overall finish. Higher grades typically have fewer knots and imperfections. Common thicknesses include ½ inch and ¾ inch, with the thicker option being more resistant to damage. The grade and thickness should be carefully considered based on the project’s requirements and budget. A higher grade, thicker siding is recommended for areas exposed to harsh weather conditions.
Pros and Cons of T111 Siding
| Pros | Cons |
|---|---|
| Relatively affordable compared to other siding options | Susceptible to moisture damage if not properly installed and maintained |
| Versatile and can be easily cut and shaped | Shorter lifespan compared to vinyl siding |
| Provides a rustic aesthetic appeal | Requires regular painting or staining to maintain its appearance and protect against the elements |
| Stronger and more dimensionally stable than solid wood siding | Can be more prone to damage from impacts than vinyl siding |
T111 Siding
T111 siding, with its distinctive vertical grooves, offers a classic and durable exterior cladding solution. Its popularity stems from its relatively easy installation, affordability, and versatility in various architectural styles. However, proper installation is crucial to ensure longevity and a professional finish. This guide will walk you through the process, providing actionable steps and best practices for a successful project.
T111 Siding Installation Steps
Installing T111 siding involves a series of methodical steps. Careful preparation and attention to detail are key to achieving a seamless, watertight finish. Ignoring these steps can lead to costly repairs down the line. Here’s a breakdown of the installation process:
- Preparation: Begin by ensuring your sheathing is properly prepared. This involves checking for any irregularities, ensuring it’s level and plumb, and addressing any gaps or damage. Proper preparation is the foundation for a successful installation.
- Framing and Flashing: Install all necessary framing and flashing around windows and doors before starting the siding installation. This will provide a watertight seal and prevent future issues.
- Starting Course: Install the first course of siding, ensuring it’s level and aligned with your building’s foundation. Use appropriate fasteners and maintain consistent spacing.
- Subsequent Courses: Install subsequent courses, overlapping each previous course according to manufacturer’s specifications (typically 1/2 inch). Maintain consistent alignment and spacing throughout the installation.
- Cutting and Fitting: Carefully cut and fit the siding around windows and doors, using a sharp utility knife or circular saw with a fine-tooth blade. Precise cuts are essential for a professional look.
- Finishing: Install trim and accessories as needed, ensuring a clean and finished look. Caulk any gaps or seams to prevent water penetration.
Necessary Tools and Equipment
The right tools are essential for a smooth and efficient T111 siding installation. Having everything on hand beforehand will save you time and frustration. Here’s a list of essential equipment:
- Measuring tape
- Level
- Circular saw with fine-tooth blade
- Utility knife
- Hammer
- Nail gun (optional, but highly recommended for efficiency)
- Safety glasses
- Work gloves
- Caulk gun
- Pry bar
Cutting and Fitting T111 Around Openings
Precise cutting and fitting around windows and doors is crucial for a professional-looking and watertight installation. Improper cuts can lead to leaks and aesthetic imperfections. Use a sharp blade and take your time to ensure accurate measurements. Pre-drilling pilot holes before nailing is also recommended to prevent splitting. Remember to always check your measurements multiple times before cutting.
T111 Siding Overlap
Proper overlap of T111 siding is critical for water resistance. Imagine a single course of siding installed horizontally. The top edge of the next course should overlap the bottom edge of the previous course by approximately 1/2 inch. This creates a staggered pattern, ensuring that no vertical seams are directly aligned, preventing water penetration. This overlap should be consistent across the entire installation. Think of it as a series of slightly offset horizontal shingles, each protecting the one below.
Safety Precautions Checklist
Safety should always be the top priority during any construction project. Failing to follow safety procedures can lead to serious injury. Here’s a checklist of essential safety precautions:
- Wear safety glasses to protect your eyes from flying debris.
- Use work gloves to protect your hands from splinters and cuts.
- Use appropriate hearing protection when using power tools.
- Ensure proper ventilation when working in enclosed spaces.
- Use caution when working at heights and utilize appropriate safety equipment.
- Always follow the manufacturer’s instructions for handling and installation.
T111 Siding
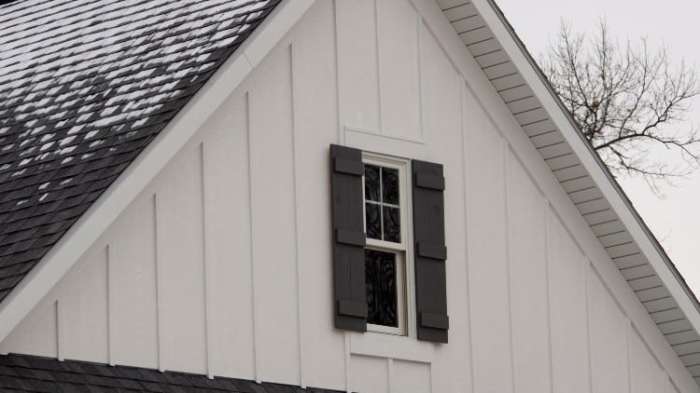
T111 siding, while a popular and cost-effective choice for exterior cladding, requires diligent maintenance to ensure its longevity and aesthetic appeal. Understanding common problems, implementing proper cleaning techniques, and knowing how to repair damage are crucial for maximizing the lifespan of your T111 investment. Ignoring these aspects can lead to costly repairs down the line and significantly reduce the value of your property.
Common T111 Siding Issues
T111 siding, due to its composition of plywood and its exposure to the elements, is susceptible to several problems. These range from cosmetic imperfections to structural damage. Common issues include cracking, warping, rot, insect infestation, and paint failure. Cracking often occurs due to expansion and contraction caused by temperature fluctuations and moisture. Warpage results from uneven moisture absorption, leading to unsightly buckling. Rot, typically caused by prolonged exposure to moisture, weakens the siding and compromises its structural integrity. Insect infestations, particularly from carpenter ants and termites, can create significant damage unseen until it’s quite advanced. Finally, paint failure, manifested as peeling, chipping, and fading, reduces the siding’s aesthetic value and protection against the elements. Addressing these issues promptly is essential to preventing further damage and maintaining the home’s curb appeal.
Cleaning and Maintaining T111 Siding
Regular cleaning is vital to prevent the buildup of dirt, grime, and mildew that can accelerate deterioration. Begin by using a garden hose with a nozzle to remove loose debris. For stubborn stains, a solution of mild detergent and water applied with a soft-bristled brush is effective. Always rinse thoroughly afterward to prevent detergent residue from attracting further dirt. For mildew removal, a solution of bleach and water (a 1:10 ratio) can be used, but it’s crucial to test this solution in an inconspicuous area first to ensure it doesn’t damage the paint. Remember to wear protective gloves and eyewear when working with bleach. Power washing should be avoided as the high pressure can damage the siding’s surface. Annual cleaning is recommended, with more frequent cleaning in areas with heavy pollution or high humidity.
Repairing Damaged T111 Siding
Repairing damaged T111 siding depends on the extent of the damage. Minor cracks can often be filled with exterior-grade wood filler, sanded smooth, and repainted. For more significant damage, such as rotted sections, the affected area must be carefully cut out and replaced with a new piece of T111 siding. Ensure the replacement piece is properly sized and secured with appropriate fasteners. Always use exterior-grade wood filler and paint to ensure durability and weather resistance. For larger areas of damage, professional assistance may be required. Ignoring damaged sections will only exacerbate the problem, leading to further deterioration and increased repair costs.
Addressing Moisture Problems in T111 Siding
Moisture is the enemy of T111 siding. Proper ventilation is crucial to prevent moisture buildup. Ensure gutters and downspouts are clean and functioning correctly to divert water away from the foundation and siding. Regularly inspect the siding for signs of moisture penetration, such as discoloration, swelling, or soft spots. Promptly address any leaks in roofing, windows, or doors, as these can lead to significant moisture damage. If moisture problems persist, consider consulting a professional to identify and address underlying issues, such as improper flashing or inadequate ventilation. Remember, early detection and remediation are key to preventing extensive and costly repairs.
Recommended T111 Siding Maintenance Tasks
Regular maintenance is key to extending the life of your T111 siding. Here’s a schedule of recommended tasks:
- Annual Inspection: A thorough visual inspection for cracks, warping, rot, insect damage, and paint deterioration. This allows for early detection and timely repair of minor issues.
- Annual Cleaning: Cleaning with a mild detergent and water solution to remove dirt, grime, and mildew. This prevents the buildup of contaminants that can accelerate deterioration.
- Bi-annual Gutter Cleaning: Ensuring clean gutters and downspouts prevents water damage to the siding.
- As-Needed Repairs: Promptly addressing any damage identified during inspections, such as filling cracks or replacing damaged sections.
- Every 5-7 Years: Repainting or restaining to protect the siding from the elements and maintain its aesthetic appeal. The frequency will depend on the quality of the paint and the climate.
T111 Siding
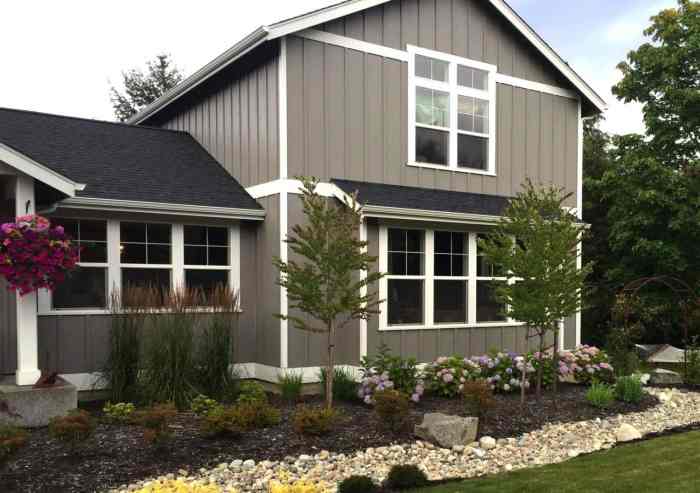
T111 siding, with its distinctive vertical grooves, offers a unique aesthetic that can dramatically impact a home’s curb appeal. Its versatility allows for integration into a surprising range of architectural styles, from rustic cabins to modern farmhouses, making it a popular choice for homeowners seeking both durability and visual interest. Understanding its design capabilities is key to unlocking its full potential.
T111 Siding Aesthetics in Various Architectural Styles
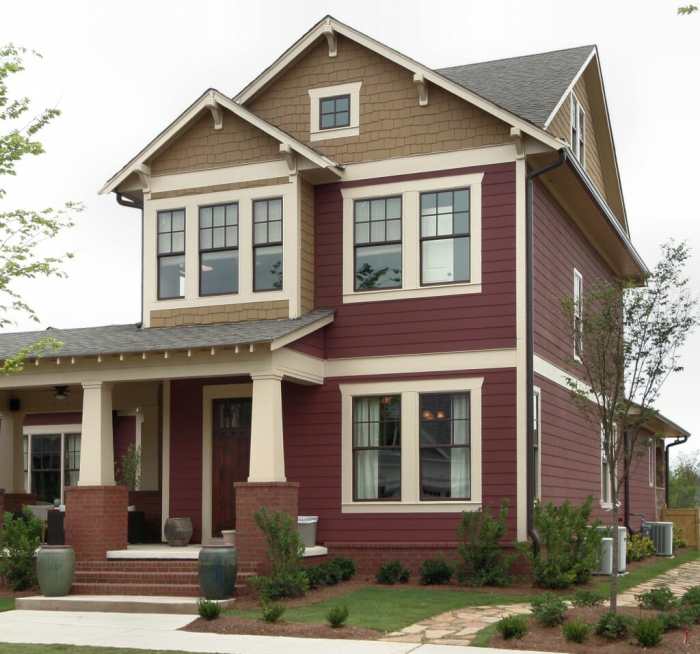
T111 siding’s inherent texture and pattern lend themselves well to a variety of architectural styles. In rustic designs, its natural wood appearance complements log cabins and mountain homes, creating a cohesive and authentic feel. For more contemporary homes, staining or painting T111 in bold colors can add a modern edge, while a natural finish can create a sophisticated, minimalist aesthetic. Used on Craftsman-style homes, T111 can enhance the horizontal lines and natural elements often featured in this style. The key is to carefully consider the color, finish, and installation pattern to ensure harmony with the overall architectural theme.
Creative Uses of T111 Siding in Home Exteriors
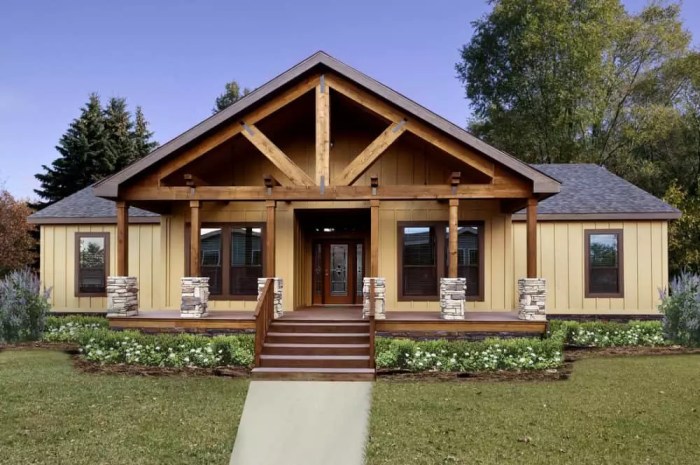
Beyond traditional applications, T111 siding offers surprising creative potential. Consider using it as accent siding on gables or dormers, creating visual interest without overwhelming the facade. Vertical T111 siding can be strategically placed to emphasize the height of a home, while horizontal installation can broaden the visual appearance. It can also be used to clad smaller structures like sheds or garages, maintaining a cohesive aesthetic throughout the property. A particularly striking approach is to combine T111 with other materials, such as stone or metal, to create a layered and visually rich exterior. Imagine a home with a stone foundation, T111 siding on the main body, and metal accents around the windows – a visually appealing combination of textures and materials.
T111 Siding Finishes and Textures
T111 siding comes in a variety of finishes and textures to suit different aesthetic preferences. The most common finish is a natural wood look, which can be left untreated or stained to enhance its natural grain. Painting T111 siding allows for a wider range of color options, enabling homeowners to personalize their home’s exterior. Different staining techniques can also create unique textures and visual depth. For example, a weathered gray stain can give a home a rustic, aged appearance, while a clear sealant will preserve the wood’s natural color and grain. The choice of finish depends largely on the desired aesthetic and the level of maintenance the homeowner is willing to undertake.
Integrating T111 Siding with Other Exterior Materials
The beauty of T111 siding lies in its compatibility with a variety of other exterior materials. Pairing it with stone creates a visually appealing contrast of textures and materials, often seen in homes with a rustic or craftsman style. The rough texture of the stone complements the smooth lines of the T111 siding, creating a balanced and visually interesting facade. Combining it with metal accents, such as window frames or fascia, adds a modern touch, enhancing the overall architectural design. Brick and T111 can also create a pleasing aesthetic, especially in homes with a more traditional style. The key is to choose materials that complement each other in terms of color, texture, and overall aesthetic.
Three T111 Siding Patterns
Here are three distinct siding patterns using T111, each offering a unique visual impact:
Pattern 1: Vertical with Horizontal Accent This pattern utilizes vertical T111 siding as the primary element, creating a sense of height and elegance. A horizontal band of T111, perhaps a different color or finish, is incorporated near the base or around windows to break up the vertical lines and add visual interest. This approach is suitable for homes aiming for a modern or contemporary aesthetic.
Pattern 2: Random Width Horizontal This pattern uses horizontal T111 siding in varying widths, creating a dynamic and less structured look. This design is particularly effective in creating a rustic or farmhouse aesthetic, emphasizing a more casual and less formal appearance. The varying widths disrupt a uniform look, adding visual texture and interest.
Pattern 3: Vertical with Diagonal Accent This pattern features primarily vertical T111 siding, with diagonal accents placed strategically around windows or dormers. The diagonal lines add a sense of movement and dynamism to the overall design, making it suitable for homes aiming for a more modern or eclectic style. The diagonal element creates a visual focal point, drawing the eye and adding a unique design element.
T111 Siding
T111 siding, with its distinctive vertical grooves and durable construction, remains a popular choice for homeowners seeking a cost-effective and aesthetically pleasing exterior cladding. Understanding the associated costs, however, is crucial for effective budgeting and project planning. This section provides a detailed breakdown of T111 siding expenses, allowing you to make informed decisions before embarking on your renovation project.
T111 Siding Costs: A Detailed Breakdown
The total cost of a T111 siding project encompasses several key components. Material costs, labor expenses, and any necessary permits and preparation work all contribute to the final price. Let’s examine each element individually. Material costs typically range from $1 to $3 per square foot, depending on the grade and thickness of the siding. Labor costs are highly variable, influenced by factors such as geographic location, project complexity, and the contractor’s experience. Expect to pay anywhere from $2 to $6 per square foot for professional installation. Permitting fees vary significantly depending on local regulations and the size of the project. Finally, preliminary work such as removing existing siding, repairing underlying sheathing, and preparing the surface for installation can add considerable cost.
Factors Influencing T111 Siding Project Costs
Several factors can significantly impact the overall cost of your T111 siding project. The size of your house, obviously, plays a crucial role; larger homes naturally require more materials and labor. The complexity of the project also matters; houses with intricate architectural details or multiple levels will demand more time and expertise, driving up labor costs. Your geographic location also influences prices, with some areas having higher labor rates and material costs than others. The choice of contractor is another critical factor; experienced and reputable contractors often command higher fees, but their expertise can ultimately save you money in the long run by minimizing errors and ensuring a high-quality installation. Finally, the condition of your existing siding and underlying structure influences the cost of preparation work. Extensive repairs or replacements can substantially increase the overall project expense.
Long-Term Cost-Effectiveness of T111 Siding
Compared to other siding options like vinyl or fiber cement, T111 offers a compelling balance of cost and durability. While the initial investment might be comparable to or slightly lower than vinyl, T111’s inherent strength and resistance to damage can lead to lower long-term maintenance costs. Fiber cement, though more expensive upfront, often boasts a longer lifespan. However, T111’s relatively easy repairability – individual damaged panels can often be replaced without extensive work – can offset some of the cost differences over the long term. The ultimate cost-effectiveness depends on several factors, including your climate, the quality of installation, and your personal maintenance practices. For example, in areas prone to severe weather, the durability of T111 might outweigh the slightly higher initial cost compared to vinyl siding, which may be more susceptible to damage from high winds or hail.
Sample Budget for a T111 Siding Project
This sample budget assumes a 1,500 square foot house and average costs in a mid-range market. Remember that your actual costs may vary.
| Item | Quantity | Cost per Unit | Total Cost |
|---|---|---|---|
| T111 Siding Material | 1500 sq ft | $2.00/sq ft | $3000 |
| Labor (Installation) | 1500 sq ft | $4.00/sq ft | $6000 |
| Permits | 1 | $500 | $500 |
| Preparation Work (Sheathing Repair, etc.) | 1 | $1000 | $1000 |
| Total Estimated Cost | $10500 |
Ultimately, choosing the right siding depends on your specific needs and budget. T111 siding offers a unique blend of durability, aesthetic appeal, and cost-effectiveness. However, understanding its nuances – from installation techniques to long-term maintenance – is crucial for a successful project. By carefully considering the information presented here, you can confidently decide if T111 siding is the perfect fit for your home improvement aspirations, maximizing both its visual impact and longevity.
FAQ Compilation
What is the lifespan of T111 siding?
With proper maintenance, T111 siding can last 20-30 years or more. However, this depends on factors like climate, exposure, and maintenance practices.
Is T111 siding susceptible to rot?
Yes, T111 siding is susceptible to rot if not properly treated and maintained, especially in humid climates. Regular cleaning and prompt repair of any damage are essential.
Can I paint T111 siding?
Yes, T111 siding can be painted, but it’s crucial to use a high-quality exterior paint designed for wood siding. Proper preparation, including priming, is also vital for a long-lasting finish.
How do I prevent insect infestation in T111 siding?
Regular inspections, prompt repair of any cracks or holes, and the use of insect repellents can help prevent insect infestation. Consider pre-treating the wood before installation as well.
Is T111 siding environmentally friendly?
T111 siding is made from wood, a renewable resource. However, the manufacturing process and transportation can have environmental impacts. Consider sourcing sustainably harvested wood for a more eco-friendly choice.
