Thinking about T-111 siding for your next project? This isn’t just another building material; it’s a versatile option with a unique character. From its manufacturing process to its aesthetic appeal and long-term cost implications, understanding T-111 siding requires a holistic approach. This guide dives deep into every aspect, arming you with the knowledge to make informed decisions and achieve stunning results. We’ll cover installation, maintenance, design considerations, and even explore sustainable alternatives.
Whether you’re a seasoned DIYer or a homeowner tackling your first home improvement project, this comprehensive guide provides actionable insights, practical tips, and the information you need to confidently navigate the world of T-111 siding. We’ll demystify the process, helping you avoid common pitfalls and unlock the full potential of this durable and attractive siding option.
Understanding T-111 Siding
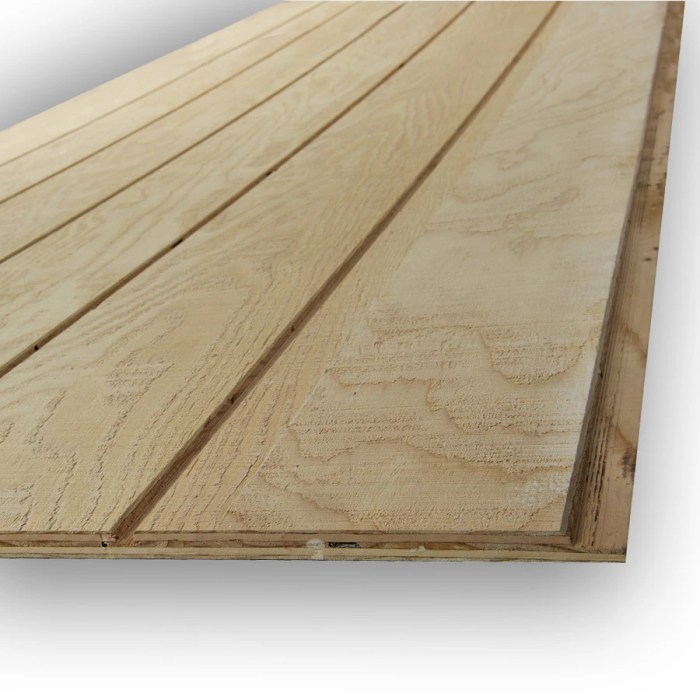
T-111 siding, a popular choice for exterior cladding, offers a unique combination of durability and aesthetic appeal. Understanding its manufacturing process, available types, and appropriate applications is crucial for making informed decisions during construction or renovation projects. This deep dive will equip you with the knowledge to effectively utilize this versatile material.
T-111 Siding Manufacturing
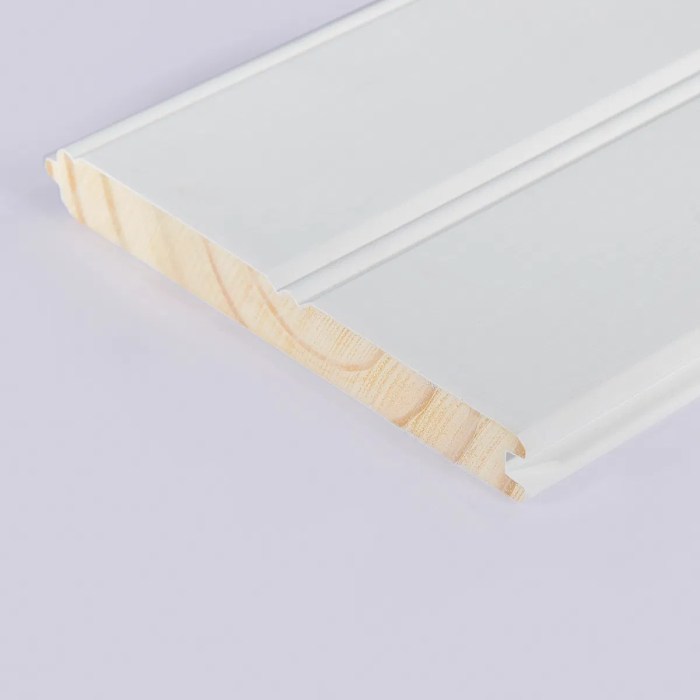
T-111 siding is engineered wood, specifically a type of plywood, manufactured using a process that begins with layering thin veneers of wood. These veneers, typically from softwoods like Douglas fir or Southern yellow pine, are bonded together with exterior-grade adhesives under intense pressure. This creates a strong, stable panel. The characteristic grooves and textures are then created through a precise milling process, producing the distinctive T-111 profile. Finally, the panels are treated with preservatives to enhance their resistance to moisture, rot, and insect infestation. The entire process emphasizes quality control to ensure consistent dimensions and durability.
Types of T-111 Siding
T-111 siding is available in various thicknesses, primarily ½ inch and ¾ inch. The thicker ¾ inch option provides greater strength and resistance to warping, making it ideal for applications exposed to harsh weather conditions or larger spans between supports. Texture variations are minimal; while all T-111 has the signature grooved profile, subtle differences in the wood grain itself might lead to slight textural inconsistencies between panels. This inherent variation contributes to the natural look of the siding.
Durability of T-111 Siding Compared to Other Materials
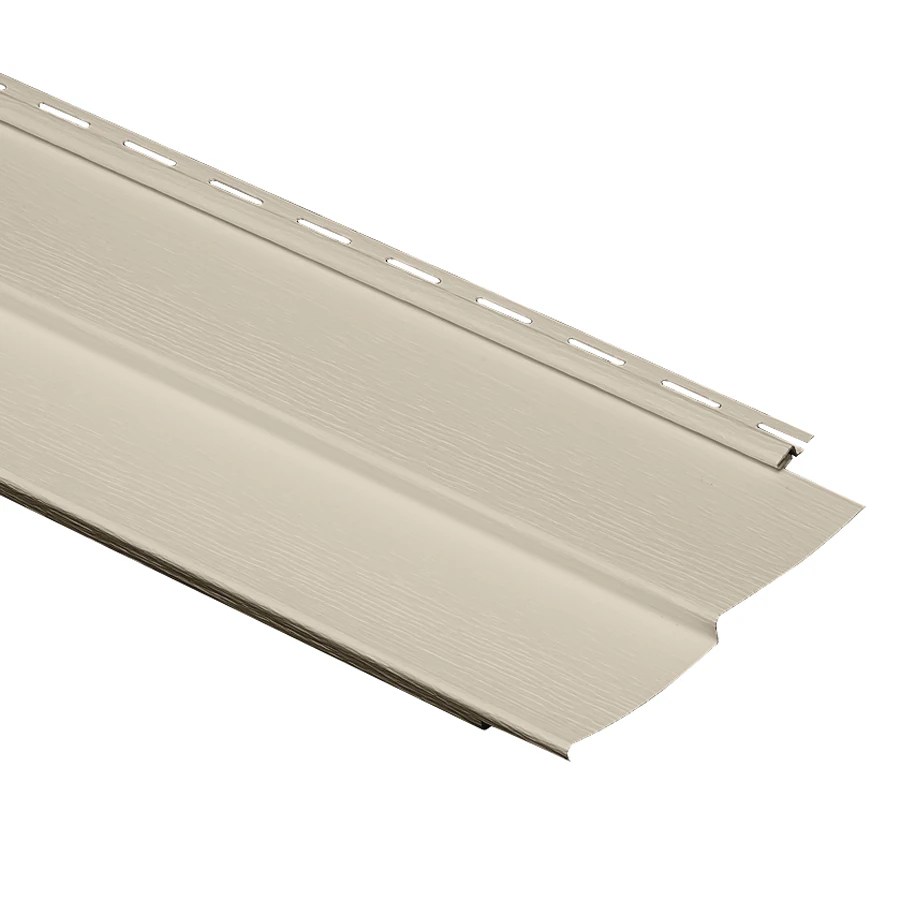
Compared to vinyl siding, T-111 offers a more natural appearance and can be painted to match virtually any color scheme. However, vinyl generally requires less maintenance and is more resistant to moisture damage. In comparison to traditional wood siding, T-111 provides superior resistance to warping, cracking, and insect infestation due to its engineered construction and preservative treatments. However, untreated wood can potentially last longer than T-111 if properly maintained and protected. The choice depends heavily on the specific application, budget, and desired aesthetic.
Appropriate and Inappropriate Applications for T-111 Siding
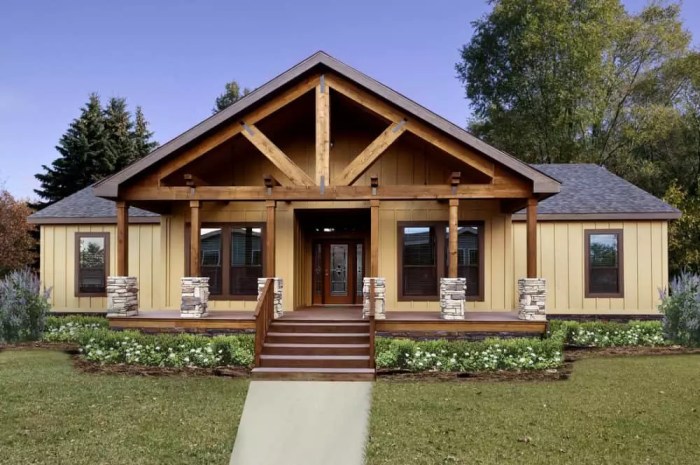
T-111 siding is well-suited for applications where a rustic, natural aesthetic is desired. It’s frequently used on barns, sheds, garages, and cabins, adding a touch of classic charm. Furthermore, its durability makes it suitable for areas exposed to moderate weather conditions. However, in coastal regions with high salt content or areas with extreme temperature fluctuations, other siding materials might be more appropriate due to T-111’s susceptibility to moisture damage over extended periods. Directly exposing T-111 to prolonged, heavy rainfall without adequate protection is generally discouraged. Similarly, areas prone to significant wind damage may benefit from more robust siding options.
T-111 Siding Installation
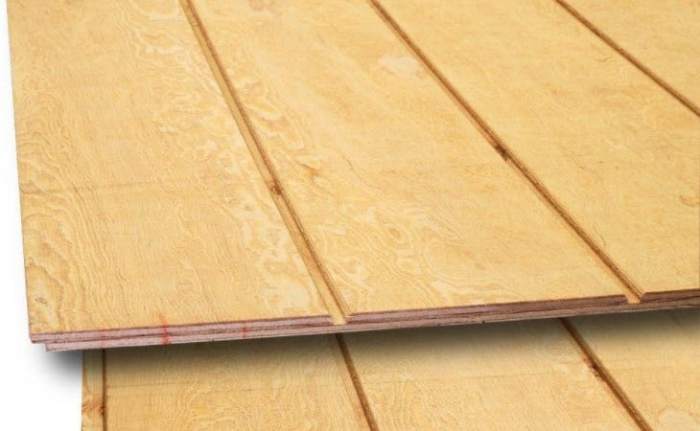
Installing T-111 siding, while achievable for DIYers, requires precision and attention to detail to ensure a long-lasting, aesthetically pleasing result. Proper installation prevents water damage, improves your home’s curb appeal, and increases its overall value. This guide provides a comprehensive step-by-step process, crucial for a successful project.
Tools and Materials Required for T-111 Siding Installation
Before beginning, gather all necessary tools and materials. This preparation minimizes interruptions and ensures a smooth workflow. Having everything readily available significantly reduces the risk of errors and delays. Failing to plan can lead to project setbacks and increased costs.
- Measuring tape
- Circular saw with a fine-tooth blade
- Jigsaw (for intricate cuts)
- Hammer
- Nail gun (recommended for efficiency)
- Level
- Safety glasses
- Work gloves
- Caulk gun
- T-111 siding
- Exterior-grade nails or staples
- Flashing (for windows and doors)
- Caulk (exterior-grade)
- Strapping or furring strips (if needed)
Step-by-Step T-111 Siding Installation Guide
A methodical approach is key to successful siding installation. Each step builds upon the previous one, ensuring a structurally sound and visually appealing finish. Ignoring any step can compromise the integrity of the entire installation.
| Step | Description | Tools | Notes |
|---|---|---|---|
| 1 | Prepare the wall surface: Ensure the wall is clean, dry, and free of any loose material. Install strapping or furring strips if necessary to create a level surface. | Level, hammer, measuring tape | Proper surface preparation is crucial for a straight and even siding installation. |
| 2 | Install starter strip: This provides a straight, level base for the first course of siding. | Hammer, nails, level | Ensure the starter strip is perfectly level to prevent future issues. |
| 3 | Install first course of siding: Overlapping the starter strip, fasten the first course of siding using nails or staples. | Nail gun or hammer, nails/staples, level | Maintain consistent spacing between fasteners. |
| 4 | Continue installing subsequent courses: Overlap each course by the recommended amount (usually 1 inch). | Nail gun or hammer, nails/staples, level | Ensure proper alignment and overlap for water resistance. |
| 5 | Cut and install around windows and doors: Use a circular saw or jigsaw for precise cuts. Install flashing to prevent water penetration. | Circular saw, jigsaw, measuring tape, flashing, caulk | Careful measurement and precise cutting are crucial around openings. |
| 6 | Caulk all seams and joints: This creates a watertight seal. | Caulk gun, exterior-grade caulk | Use a high-quality, exterior-grade caulk. |
Cutting and Fitting T-111 Siding Around Windows and Doors
Precise cutting and fitting around windows and doors are vital to maintain the watertight integrity of the siding. Improper cuts can lead to leaks and significant damage. Use a sharp blade to avoid splintering and ensure a clean cut.
To achieve a professional finish, measure carefully and mark the cutting lines on the T-111 siding. Use a jigsaw for intricate cuts and a circular saw for straight cuts. Always pre-drill pilot holes before fastening to prevent splitting. Install flashing around windows and doors before applying siding to create a waterproof barrier. Finally, seal all gaps and joints with a high-quality exterior-grade caulk.
Proper Overlapping and Fastening Techniques for T-111 Siding
Imagine a single course of T-111 siding with its vertical grooves. The next course is then placed above it, overlapping the lower course by approximately 1 inch. This overlap creates a staggered pattern and prevents water penetration. Each piece of siding is secured with nails or staples driven at a slight angle to avoid splitting the wood. The nails should be placed within the groove to hide them for a cleaner look. Consistent spacing between fasteners ensures proper support and prevents buckling. Visualize the fasteners spaced evenly, each one securely holding the siding to the underlying structure.
Common Mistakes to Avoid During T-111 Siding Installation
Several common mistakes can lead to significant problems. Avoiding these issues saves time, money, and potential damage to your home. Neglecting these details can result in expensive repairs down the line.
- Improper surface preparation: Uneven surfaces lead to uneven siding and potential problems with water runoff.
- Incorrect overlap: Insufficient overlap compromises water resistance, potentially causing water damage.
- Using the wrong fasteners: Incorrect fasteners can lead to splitting or loose siding.
- Failing to use flashing around windows and doors: This can lead to leaks and water damage.
- Skipping caulking: Uncaulked seams and joints allow water penetration.
- Not using a level: Improper leveling leads to uneven siding and an unprofessional look.
T-111 Siding Maintenance and Repair
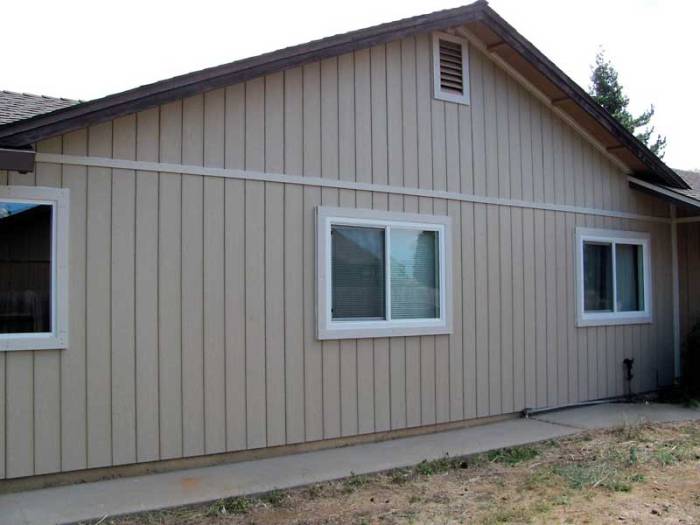
Proper maintenance is crucial for maximizing the lifespan and aesthetic appeal of your T-111 siding. Neglecting routine care can lead to costly repairs and premature replacement, significantly impacting your home’s value and curb appeal. This section details preventative measures and effective repair strategies to keep your T-111 siding looking its best for years to come.
Preventative Maintenance for T-111 Siding
Regular inspections are the cornerstone of effective T-111 siding maintenance. By identifying and addressing minor issues early, you can prevent them from escalating into more significant and expensive problems. A proactive approach saves both time and money in the long run. Consider these preventative measures:
- Annual Inspections: Conduct thorough inspections at least once a year, checking for signs of damage, such as cracks, dents, rot, or loose fasteners. Pay close attention to areas most exposed to the elements, like corners and edges.
- Promptly Address Damage: Don’t delay repairs. Even minor damage can worsen over time, leading to more extensive and costly repairs later. Address any issues as soon as they are discovered.
- Clean Regularly: Regular cleaning removes dirt, debris, and mold, preventing damage and maintaining the siding’s appearance. Use a soft brush and a gentle cleaning solution (more details on cleaning solutions below).
- Caulk and Seal: Inspect and reseal any gaps or cracks around windows, doors, and other areas where the siding meets other building materials. This prevents water penetration, a major cause of damage.
- Proper Drainage: Ensure proper grading around your home to direct water away from the foundation and siding. Clogged gutters and downspouts can lead to water damage.
Repairing Common T-111 Siding Damage
Repairing damaged T-111 siding requires careful attention to detail. Improper repairs can compromise the siding’s integrity and lead to further damage. The following Artikels procedures for common repair scenarios:
- Dents: Minor dents can often be carefully pushed back into place using a putty knife or similar tool. For deeper dents, wood filler may be necessary, followed by sanding and repainting.
- Cracks: Small cracks can be repaired with wood filler, ensuring it’s properly matched to the siding’s color. Larger cracks may require replacing the damaged section of siding.
- Rot: Rotted areas must be completely removed and replaced. This often requires cutting out the affected section and installing a new piece of T-111 siding. Ensure the underlying structure is also sound and free from rot before replacing the siding.
Tools and Materials for T-111 Siding Repair
Having the right tools and materials on hand makes repairs more efficient and effective. This list provides a comprehensive overview:
- Putty knife
- Wood filler (matching siding color)
- Sandpaper (various grits)
- Caulk (exterior grade)
- Paint (exterior grade, matching siding color)
- Measuring tape
- Circular saw (for replacing sections)
- Hammer
- Nails (exterior grade)
- Safety glasses
- Work gloves
- Ladder (if necessary)
Cleaning and Treating T-111 Siding to Prevent Mold and Mildew
Mold and mildew thrive in damp environments. Regular cleaning and preventative treatments are essential to maintain the appearance and integrity of your T-111 siding.
- Cleaning Solution: Mix a solution of mild detergent and water. Avoid harsh chemicals that can damage the siding. Apply the solution with a soft brush, scrub gently, and rinse thoroughly with clean water.
- Mold and Mildew Treatment: For persistent mold and mildew, use a commercial mold and mildew cleaner specifically designed for exterior use. Always follow the manufacturer’s instructions carefully. Apply the cleaner, let it dwell for the recommended time, and then rinse thoroughly.
- Preventative Treatment: After cleaning, consider applying a mildewcide to help prevent future growth. Many exterior wood cleaners contain mildewcide. Follow the manufacturer’s instructions for application and drying time.
T-111 Siding Aesthetics and Design
T-111 siding, with its distinctive texture and versatility, offers a wide range of aesthetic possibilities for homeowners seeking to enhance their curb appeal. Understanding how to leverage its unique characteristics—the deep grooves, the varied plank widths, and the potential for different finishes—is key to achieving a truly stunning and cohesive exterior design. This section explores design options, color choices, potential challenges, and provides a detailed example of a visually striking home exterior featuring T-111.
T-111 Siding Design Options for Different House Styles
The inherent adaptability of T-111 siding makes it suitable for a variety of architectural styles. Proper application, however, requires consideration of the home’s existing design elements to ensure a harmonious and visually appealing result. Incorrect implementation can lead to an incongruous or even jarring final product.
- Ranch Style Homes: T-111 siding’s horizontal lines complement the low-profile nature of ranch homes. Consider using a wider plank width for a more modern feel or a narrower width for a more traditional look. A horizontal orientation accentuates the length of the house, creating a sense of spaciousness. Earth tones and muted colors generally work best with this style.
- Victorian Style Homes: The intricate detailing of Victorian homes requires a more nuanced approach with T-111. Use narrower planks to create a more delicate texture, perhaps incorporating vertical or diagonal patterns to break up the large expanses of wall space. Consider contrasting colors for trim to highlight architectural features. Darker, richer colors can work well, adding to the home’s inherent elegance.
- Modern Style Homes: T-111 can achieve a clean, contemporary look in modern homes. Use large, wide planks in a horizontal orientation to emphasize the home’s sleek lines. A monochromatic color scheme, perhaps a shade of gray or white, can enhance the minimalist aesthetic. The deep grooves of the siding can add subtle textural interest without disrupting the overall clean lines of the design.
Choosing the Appropriate Color and Finish for T-111 Siding
Color and finish selection significantly impact the overall aesthetic of a home. The right choices can enhance the architecture, while the wrong ones can detract from it. Consider the surrounding environment, the style of the home, and personal preferences when making these decisions.
T-111 siding is available in a variety of finishes, including stained, painted, and clear-coated options. Stained finishes highlight the natural wood grain, offering a rustic or natural look. Painted finishes provide more color options and offer greater protection from the elements. Clear-coated finishes preserve the natural wood appearance while providing a protective layer.
Potential Design Challenges and Solutions When Using T-111 Siding
While T-111 siding is versatile, it presents some potential design challenges.
- Seamless Integration with Other Materials: Careful planning is needed to ensure T-111 integrates smoothly with other exterior materials like brick, stone, or stucco. Consider using complementary colors and textures to create a cohesive look. Proper flashing and caulking are essential to prevent water damage.
- Maintaining a Consistent Appearance: The texture of T-111 can be emphasized or minimized through the choice of color and application. Using a consistent color across large areas prevents a fragmented look. Careful planning and execution are crucial to achieving a unified and visually appealing result.
- Addressing Potential Issues with Shadow Lines: The deep grooves of T-111 can create noticeable shadow lines, especially in bright sunlight. Choosing lighter colors can minimize the impact of these shadows. Careful consideration of the orientation of the siding relative to the sun can also mitigate this issue.
Example of a Visually Appealing Home Exterior Featuring T-111 Siding
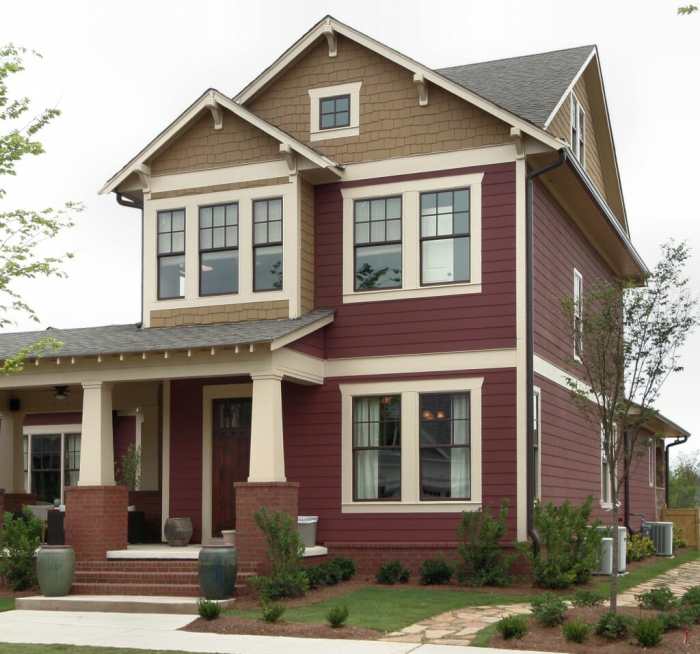
Imagine a craftsman-style home with a deep charcoal gray T-111 siding. The horizontal planks, relatively wide, create a sense of grounded solidity. The deep gray is accented by crisp white trim around the windows and doors, and a lighter gray gable. The texture of the siding is subtly emphasized by the interplay of light and shadow. A dark brown front door adds a warm contrast to the cool tones of the siding, and the overall effect is one of refined elegance and understated sophistication. The home’s landscaping, featuring deep green shrubs and carefully manicured lawns, complements the color scheme, creating a cohesive and visually stunning exterior.
Cost Considerations and Sustainability
Choosing the right siding for your home involves a careful balancing act between initial investment, long-term maintenance, and environmental impact. T-111 siding, while popular for its durability and versatility, presents a unique set of cost and sustainability considerations that homeowners should thoroughly evaluate before making a decision. Understanding these factors will empower you to make an informed choice that aligns with your budget and environmental values.
T-111 Siding Cost Compared to Alternatives
The initial cost of siding can vary significantly depending on the material chosen. While T-111 offers a mid-range price point, it’s crucial to compare it to other options to understand its overall value proposition. The following table provides a general comparison – remember that actual costs can fluctuate based on location, labor rates, and specific product choices.
| Material | Initial Cost (per sq ft, approximate) | Maintenance Cost (per sq ft, per year, approximate) | Lifespan (years) |
|---|---|---|---|
| T-111 Siding | $3 – $6 | $0.10 – $0.50 | 30-50 |
| Vinyl Siding | $2 – $5 | $0.05 – $0.20 | 20-30 |
| Fiber Cement Siding | $6 – $12 | $0.05 – $0.20 | 50+ |
| Wood Siding (Cedar) | $8 – $15 | $0.20 – $1.00 | 20-40 |
Long-Term Cost-Effectiveness of T-111 Siding
The long-term cost-effectiveness of T-111 siding hinges on its relatively low maintenance requirements compared to some wood sidings and its reasonably long lifespan. While the initial cost may be higher than vinyl, the reduced need for frequent repairs and repainting over its lifetime can offset this difference. For example, a homeowner might spend less on maintenance over 30 years with T-111 compared to a less durable material requiring more frequent attention. However, unforeseen damage, such as from severe weather events, can significantly impact the overall cost.
Environmental Impact of T-111 Siding
T-111 siding’s environmental impact stems from its manufacturing process and eventual disposal. The production of oriented strand board (OSB), the core material of T-111, involves the use of wood fibers, adhesives, and energy. Disposal often leads to landfill waste. While T-111 is made from a renewable resource (wood), the manufacturing processes and associated emissions need consideration. The use of formaldehyde-based adhesives in some T-111 products is also a concern for indoor air quality if used improperly.
Sustainable Alternatives and Practices
Several sustainable alternatives and practices can mitigate the environmental impact associated with T-111 siding. Choosing responsibly sourced wood for T-111, ensuring proper installation to minimize waste, and exploring options like reclaimed or recycled wood siding can reduce the environmental footprint. Alternatively, opting for fiber cement siding, which is made from sustainable materials and offers a longer lifespan, can be a more environmentally friendly choice in the long run. Proper disposal and recycling of old siding materials also contribute to a more sustainable approach.
T-111 siding offers a compelling blend of durability, versatility, and aesthetic appeal. While it demands careful consideration during installation and maintenance, the long-term benefits—from its cost-effectiveness to its lasting visual impact—make it a strong contender for your next home improvement project. By understanding its strengths, weaknesses, and best applications, you can harness the power of T-111 siding to create a stunning and enduring exterior. Remember to weigh the initial costs against long-term maintenance and factor in sustainable practices wherever possible. The result? A home exterior that reflects both your style and your savvy.
Question Bank
Is T-111 siding prone to warping?
Yes, improper installation or exposure to excessive moisture can lead to warping. Proper ventilation and careful installation are crucial.
Can I paint T-111 siding?
Absolutely! Using a high-quality exterior paint designed for wood siding will protect and enhance its appearance.
How long does T-111 siding typically last?
With proper maintenance, T-111 siding can last for 30 years or more.
What are the best cleaning methods for T-111 siding?
Regular cleaning with a mild detergent and water, followed by rinsing, is recommended. Avoid high-pressure washers, which can damage the surface.
Is T-111 siding fire-resistant?
While treated lumber offers some fire resistance, it’s not inherently fireproof. Consider fire-retardant treatments for added protection.
