Shiplap siding—that charming, rustic, and increasingly modern cladding—has taken the design world by storm. From farmhouse chic to sleek contemporary aesthetics, its versatility is undeniable. But choosing the right material, understanding installation nuances, and planning for long-term maintenance are crucial for a successful project. This comprehensive guide dives deep into everything you need to know about shiplap siding, from initial selection to final touches.
We’ll explore the various materials available—wood, vinyl, fiber cement—weighing their pros and cons, cost implications, and maintenance needs. Learn the intricacies of installation, including detailed steps, tool requirements, and crucial best practices for achieving a flawless finish. Discover how shiplap can transform your home’s exterior or add a unique touch to interior spaces, and explore design ideas to inspire your next project. We’ll even cover common problems and their solutions, ensuring your shiplap siding remains beautiful for years to come.
What is Shiplap Siding?
Shiplap siding is a classic and increasingly popular exterior cladding choice known for its clean lines and timeless appeal. Its distinctive overlapping horizontal boards create a visually striking and durable exterior wall covering, offering both aesthetic and functional benefits for homeowners. Understanding the different types of shiplap siding available, and their respective pros and cons, is crucial for making an informed decision that aligns with your budget and long-term goals.
Shiplap Siding Characteristics and Materials
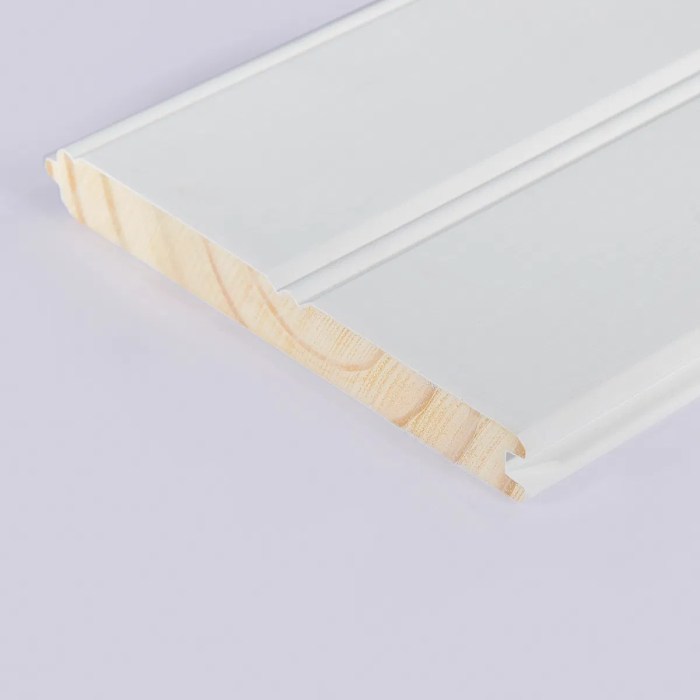
Shiplap siding is characterized by its simple yet effective design. Each board features a rabbeted edge—a groove on one side and a corresponding lip on the other—that allows for a tight, overlapping fit. This overlap prevents water penetration, contributing to its weather-resistant properties. This design element is what distinguishes shiplap from other types of siding like clapboard. The most common materials used for shiplap siding include wood, vinyl, and fiber cement, each offering a unique set of attributes.
Wood Shiplap Siding
Wood shiplap, often made from cedar, redwood, or pine, offers a natural, rustic aesthetic. The inherent warmth and texture of wood make it a highly sought-after choice for many homeowners. However, wood requires more maintenance than other options, needing regular sealing and potential repainting to protect against rot, insect infestation, and weathering. The initial cost can also be significantly higher than vinyl or fiber cement. Properly maintained, however, wood shiplap can last for decades, adding considerable curb appeal and value to a property. Think of the classic New England farmhouse look—that’s often achieved with wood shiplap.
Vinyl Shiplap Siding
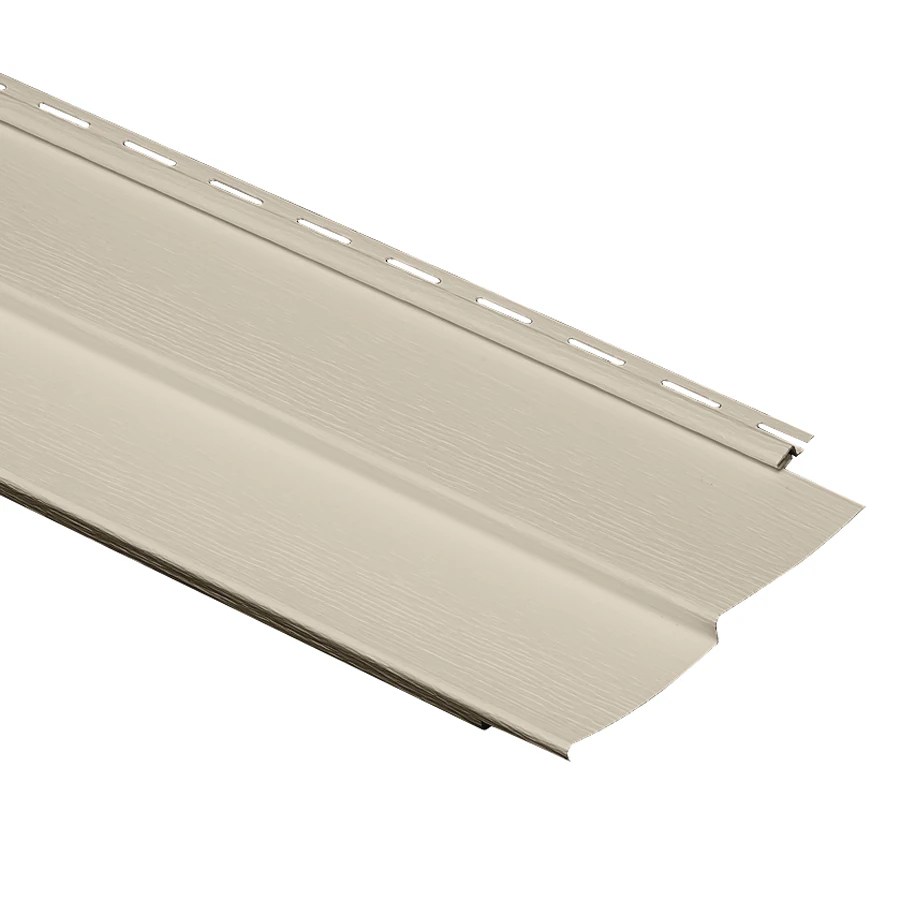
Vinyl shiplap is a budget-friendly and low-maintenance alternative to wood. It’s resistant to rot, insects, and moisture damage, making it a durable option for various climates. Vinyl is available in a wide range of colors and styles, mimicking the look of wood without the associated upkeep. However, vinyl can be less durable than wood or fiber cement, and it can fade or become brittle over time, especially with prolonged exposure to intense sunlight. Its somewhat artificial appearance may not appeal to those seeking a truly natural look. Many suburban homes utilize vinyl shiplap for its ease of installation and low cost.
Fiber Cement Shiplap Siding
Fiber cement shiplap combines the durability of cement with the versatility of wood. It’s exceptionally resistant to fire, rot, insects, and moisture, making it a long-lasting and low-maintenance option. Fiber cement also boasts excellent insulation properties, contributing to energy efficiency. While more expensive than vinyl, it’s often considered a superior investment due to its longevity and minimal maintenance requirements. The initial cost is higher, but the long-term savings in repairs and replacements can offset this. Modern, high-end homes frequently feature fiber cement shiplap for its superior performance and aesthetic qualities.
Shiplap Siding Material Comparison
| Material | Cost (per sq ft, approximate) | Durability | Maintenance |
|---|---|---|---|
| Wood | $3 – $10+ | High (with proper maintenance) | High (sealing, painting) |
| Vinyl | $1 – $3 | Medium | Low |
| Fiber Cement | $2 – $6 | High | Low |
Installation Methods for Shiplap Siding
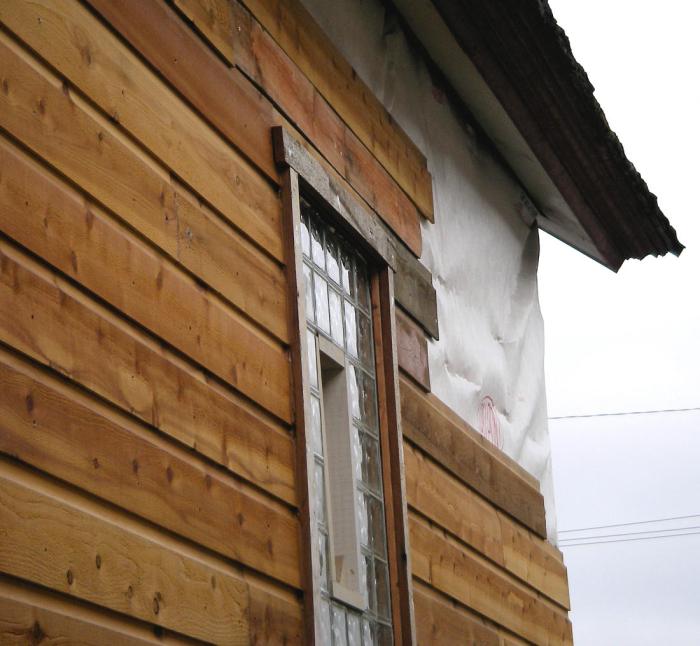
Installing shiplap siding can dramatically enhance your home’s curb appeal, adding a touch of rustic charm or modern sophistication, depending on your chosen style. The process, while seemingly straightforward, requires precision and attention to detail to achieve a professional finish. This guide will walk you through the steps, ensuring your shiplap project is a resounding success.
Tools and Materials Required for Shiplap Siding Installation
Proper preparation is key to a smooth installation. Gathering all necessary tools and materials beforehand will streamline the process and prevent costly delays. Failing to have the right equipment can lead to frustrating setbacks and potentially damage your materials.
- Measuring Tape: Accurate measurements are crucial for proper planning and cutting.
- Level: Essential for ensuring straight and even installation, preventing a lopsided appearance.
- Circular Saw or Miter Saw: Provides clean, precise cuts for the shiplap boards, minimizing waste.
- Nail Gun (optional but highly recommended): Significantly speeds up the installation process and provides consistent nailing.
- Hammer: A necessary backup if you’re not using a nail gun.
- Safety Glasses: Protecting your eyes from flying debris is paramount.
- Shiplap Boards: Choose high-quality wood for durability and longevity. Consider pre-primed or pre-painted options to save time.
- Exterior-Grade Nails: Select nails appropriate for the thickness of your shiplap boards and the type of wood.
- Caulk: Use a high-quality exterior-grade caulk to seal gaps and ensure weather resistance.
- Wood Filler: For filling any minor imperfections or nail holes.
Step-by-Step Installation Process of Wood Shiplap Siding
The installation process follows a logical sequence. Each step builds upon the previous one, so meticulous attention to detail is crucial at every stage. Skipping steps or rushing the process can compromise the final result.
- Preparation: Ensure the underlying surface is clean, dry, and level. Repair any damaged areas before starting installation.
- First Board Installation: Start at a corner, ensuring the first board is perfectly level and plumb. Secure it using nails spaced appropriately, avoiding over-driving the nails.
- Subsequent Board Installation: Overlap each subsequent board according to the manufacturer’s specifications, typically ½ inch to ¾ inch. Maintain consistent spacing and alignment using a level.
- Nailing Technique: Drive nails at an angle to minimize splitting. Pre-drill pilot holes for thicker boards to prevent splitting. Sink nails slightly below the surface.
- Caulking and Finishing: After installation, caulk all gaps and joints to prevent water infiltration. Fill any nail holes with wood filler and sand smooth for a flawless finish.
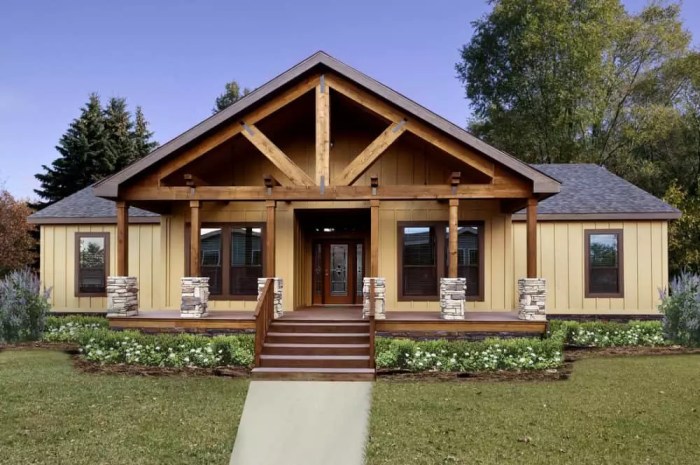
- Rustic Style: A cabin nestled in a wooded area, featuring wide, rough-hewn cedar shiplap with a natural, weathered finish. The irregular texture of the wood and the natural color palette contribute to the overall rustic feel. The large scale of the shiplap emphasizes the raw, natural aesthetic.
- Modern Style: A sleek, minimalist home with narrow, painted white shiplap. The clean lines and uniform color create a modern, sophisticated appearance. The precise installation and consistent color scheme are critical to maintaining the modern aesthetic.
- Farmhouse Style: A charming farmhouse with medium-width shiplap stained a warm, dark brown. The color complements the traditional farmhouse aesthetic, while the wood’s texture adds warmth and character. The horizontal orientation of the shiplap further enhances the farmhouse look.
- Coastal Style: A beach house with narrow, whitewashed shiplap. The light color reflects the bright, airy feeling of a coastal environment. The subtle texture of the shiplap adds visual interest without detracting from the overall lightness of the design.
- Wood Shiplap: Requires annual cleaning with a mild detergent solution and a soft brush. Consider applying a high-quality wood sealant or stain every 2-3 years to protect against moisture damage, UV degradation, and insect infestation. Regular inspection for signs of rot, warping, or insect damage is essential.
- Vinyl Shiplap: Generally requires less maintenance than wood. Regular cleaning with soap and water, and occasional rinsing with a garden hose, is sufficient. Avoid harsh chemicals that could damage the surface. Inspect for cracks or damage, which can often be repaired with vinyl caulk.
- Fiber Cement Shiplap: Known for its durability and resistance to weather, fiber cement siding typically only requires periodic cleaning with soap and water. Inspect for cracks or damage; repairs often involve patching or replacing damaged sections.
- Engineered Wood Shiplap: Similar to wood shiplap, it benefits from periodic cleaning and the application of a protective sealant to prevent moisture damage. Regular inspections are crucial to identify any signs of warping or damage.
- Moisture Damage: Water intrusion is a significant concern, particularly with wood shiplap. This can lead to rot, mold, and warping. Regular sealing and prompt repair of any leaks or cracks are essential. Proper drainage around the foundation is also crucial.
- Insect Infestation: Wood shiplap is susceptible to insect damage, especially termites. Regular inspections and preventative treatments are necessary. Signs of infestation include small holes, sawdust, or weakened wood.
- Cracks and Gaps: Cracks can develop in any type of shiplap siding due to weathering, expansion, and contraction. These should be repaired promptly using appropriate caulking or patching materials to prevent further damage and water intrusion.
- Fading and Discoloration: Sun exposure can cause fading and discoloration, especially in wood and painted shiplap. Regular cleaning and the application of protective sealants or paint can help mitigate this.
- Assess the Damage: Carefully examine the damaged area to determine the extent of the problem. Minor cracks or scratches can often be repaired with caulk, while more significant damage may require board replacement.
- Prepare the Area: Clean the area thoroughly to remove dirt, debris, and loose material. For wood, gently sand the area to create a smooth surface for patching or repair.
- Apply Repair Material: Use appropriate caulk, wood filler, or patching compound to repair minor damage. For larger repairs or board replacement, carefully remove the damaged board and install a new one, ensuring proper alignment and fastening.
- Finish the Repair: Once the repair material has dried, sand it smooth and apply paint or sealant to match the existing siding. This will help protect the repair and maintain the overall appearance of the shiplap.
- Regular Cleaning: Regular cleaning removes dirt, grime, and other debris that can accelerate deterioration. Use a soft brush, mild detergent, and water. For stubborn stains, consider using a pressure washer, but maintain a safe distance to avoid damaging the siding.
- Protective Coatings: Applying a high-quality sealant or paint provides an extra layer of protection against moisture, UV damage, and insect infestation. The frequency of application depends on the material and climate; wood typically requires more frequent applications than vinyl or fiber cement.
- Gutter and Downspout Maintenance: Ensure gutters and downspouts are clean and functioning correctly to divert water away from the foundation and siding, preventing water damage.
Proper Alignment and Overlapping of Shiplap Boards
Maintaining consistent alignment and overlap is essential for a professional-looking finish. Inconsistent spacing or overlapping will detract from the overall aesthetic appeal.
Precise measurements and the use of a level are crucial. The overlap should be uniform throughout the installation. Slight variations can accumulate, resulting in noticeable discrepancies. Consider using spacers to maintain consistent gaps between boards.
Visual Guide: Proper Nailing Techniques for Shiplap Siding
Image 1: Correct Nailing Technique – This image shows a close-up of a shiplap board with nails driven at a 45-degree angle, slightly below the surface. The caption reads: “Drive nails at a 45-degree angle to prevent splitting. Pre-drill pilot holes for thicker boards.” The image clearly illustrates the proper angle and depth of nail penetration.
Image 2: Incorrect Nailing Technique – This image shows a shiplap board with nails driven straight down, causing the wood to split. The caption reads: “Avoid driving nails straight down, as this can cause the wood to split.” The image highlights the damage caused by improper nailing.
Image 3: Nail Placement – This image displays the optimal spacing between nails along the length of a shiplap board. The caption reads: “Maintain consistent nail spacing for a secure and even installation.” The image demonstrates the proper distance between nails to ensure structural integrity.
Styles and Applications of Shiplap Siding
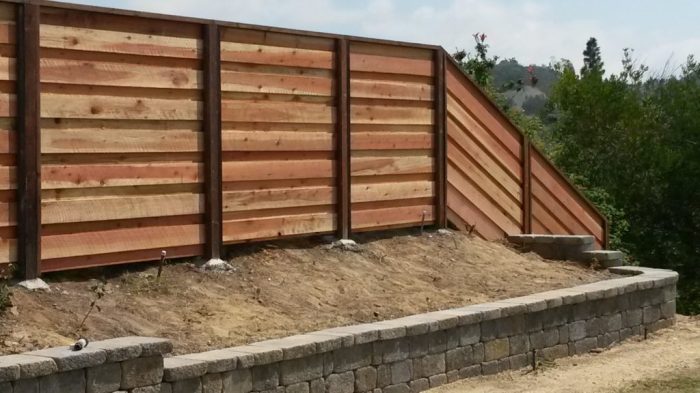
Shiplap siding, with its clean lines and versatile aesthetic, offers a remarkable range of design possibilities, transcending simple rustic charm to encompass modern and even eclectic styles. Its adaptability extends beyond aesthetics, influencing the overall architectural feel of a structure, both internally and externally. Understanding the diverse applications and stylistic interpretations of shiplap is key to leveraging its potential in your next project.
The inherent simplicity of shiplap allows it to seamlessly integrate into a variety of architectural styles, adapting its appearance based on the accompanying design elements. The choice of wood type, color, and installation method dramatically impacts the final look, allowing for a surprisingly broad spectrum of visual effects. This adaptability is a significant factor contributing to shiplap’s enduring popularity.
Aesthetic Styles Achievable with Shiplap Siding
Shiplap’s inherent versatility allows it to effortlessly transition across a spectrum of design aesthetics. From the cozy warmth of rustic designs to the clean lines of modern minimalism, and the charming simplicity of farmhouse styles, shiplap adapts and enhances. The key lies in the details—the wood type, finish, color, and the overall architectural context.
For instance, wide, reclaimed wood shiplap with a weathered grey finish evokes a strong rustic feel, while narrow, painted white shiplap creates a clean, modern aesthetic. A medium-width shiplap stained a deep, rich brown complements a farmhouse design beautifully. The interplay between these factors allows for a level of customization previously unimaginable with other siding materials.
Architectural Applications of Shiplap Siding
Shiplap’s application isn’t limited to exterior walls. Its adaptability extends to interior spaces, offering a unique textural element that can be used strategically to create visual interest and enhance existing design themes.
Exterior applications are the most common, where shiplap forms the building’s protective outer layer. However, its use as interior accent walls, ceilings, or even backsplashes showcases its versatility. Consider a shiplap accent wall in a living room, immediately adding warmth and texture. Or, imagine a shiplap ceiling in a kitchen, creating a rustic yet refined atmosphere. The possibilities are vast.
Examples of Shiplap Siding in Different Architectural Styles
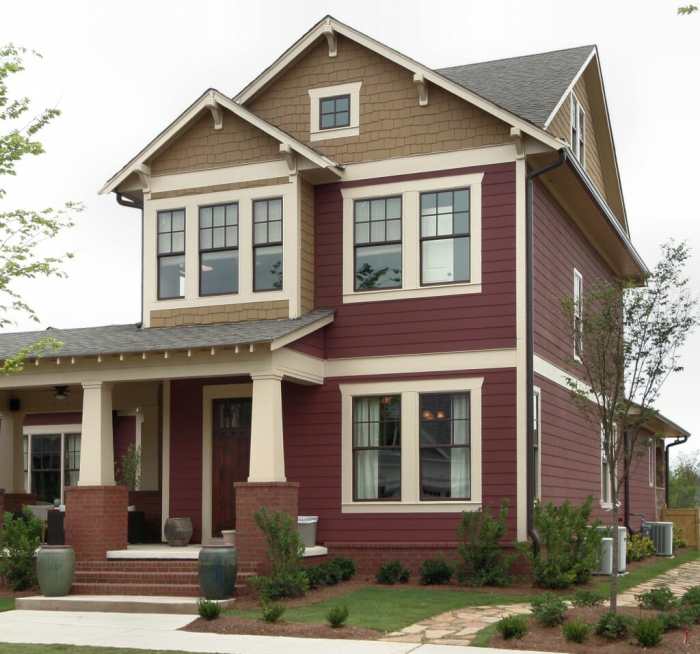
The following examples illustrate how shiplap’s adaptability allows it to seamlessly integrate into various architectural styles. Note that these are not exhaustive, but rather representative of the breadth of possibilities.
Careful consideration of the wood type, finish, and installation method are crucial to achieving the desired aesthetic. The scale and proportion of the shiplap itself also play a significant role in determining the overall impact.
Maintenance and Repair of Shiplap Siding
Shiplap siding, while incredibly durable and aesthetically pleasing, requires consistent maintenance to ensure its longevity and beauty. Neglecting routine care can lead to costly repairs and premature deterioration. The specific maintenance needs vary depending on the material used – be it wood, vinyl, fiber cement, or engineered wood – and the climate in which it’s installed. Understanding these differences and implementing a proactive maintenance plan is crucial for preserving your investment.
Routine Maintenance for Different Shiplap Siding Materials
Regular cleaning and inspection are fundamental to maintaining shiplap siding regardless of the material. However, the cleaning methods and frequency will vary. For example, wood shiplap requires more frequent cleaning and protection against moisture than vinyl.
Common Problems and Solutions for Shiplap Siding
Several issues can affect shiplap siding over time, impacting its appearance and structural integrity. Addressing these problems promptly is vital to preventing further damage and ensuring the longevity of your siding.
Repairing Damaged Shiplap Boards
Repairing damaged shiplap boards involves several steps depending on the extent of the damage and the type of material. For minor damage, simple patching may suffice. However, significant damage may require replacing entire boards.
Cleaning and Protecting Shiplap Siding from Weather Damage
Protecting your shiplap siding from the elements is crucial for its longevity. Regular cleaning and the application of protective coatings are essential preventative measures.
Cost Considerations for Shiplap Siding
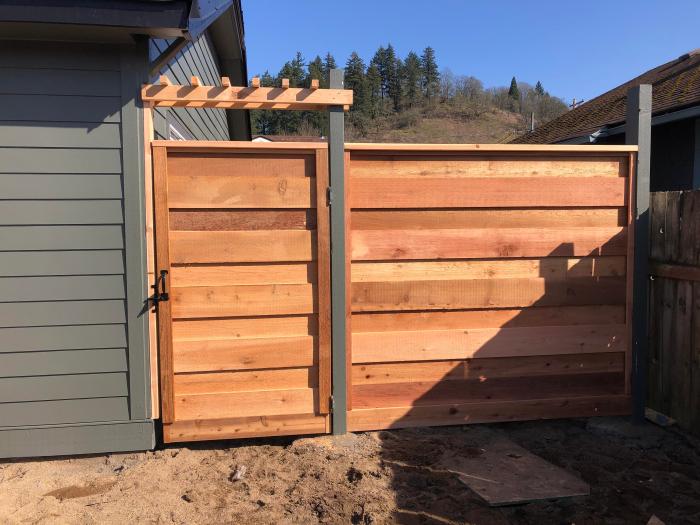
Choosing shiplap siding involves more than just aesthetics; the overall cost is a significant factor influencing your decision. Understanding the various elements that contribute to the final price will help you budget effectively and make informed choices about materials and installation. This section breaks down the key cost components of a shiplap siding project.
Factors Influencing Overall Cost
Several key factors significantly impact the total cost of your shiplap siding project. These include the size of the area to be covered, the chosen material (e.g., wood, vinyl, fiber cement), the complexity of the installation (e.g., presence of multiple angles or difficult-to-reach areas), the regional labor rates, and the need for additional services such as demolition of existing siding or repairs to underlying structure. A larger surface area naturally translates to higher material and labor costs. Complex installations requiring specialized techniques or extensive preparation work will also increase the overall expense. Regional variations in material prices and labor rates can also significantly affect the final cost. For example, a project in a rural area with limited access might involve higher transportation costs for materials, thus driving up the overall price.
Comparison of Shiplap Siding Material Costs
The material you choose for your shiplap siding dramatically affects the project’s cost. Real wood shiplap, while offering a classic and luxurious look, typically commands the highest price. The type of wood itself—whether cedar, pine, or redwood—further influences the cost. Premium hardwoods will be more expensive than softwoods. Vinyl shiplap siding provides a more budget-friendly alternative, offering a durable and low-maintenance solution at a significantly lower price point than wood. Fiber cement shiplap offers a balance between cost and durability, falling somewhere between wood and vinyl in terms of pricing. It provides a more realistic wood-like appearance than vinyl while offering superior durability and fire resistance. Let’s consider a hypothetical 1000 square foot project: Real wood might cost $10-$20 per square foot, vinyl $3-$7 per square foot, and fiber cement $8-$15 per square foot. These are broad ranges, and actual costs will vary based on specific product choices and regional pricing.
Labor Costs Involved in Shiplap Siding Installation
Labor costs constitute a substantial portion of the overall shiplap siding project expense. The hourly rate for experienced siding installers varies based on location and the complexity of the job. Expect to pay anywhere from $40 to $80 per hour or more, depending on your region and the contractor’s experience. The total labor cost will depend on the size of the project, the complexity of the installation (e.g., intricate designs or difficult-to-access areas), and the installer’s hourly rate. For instance, a simple installation on a straightforward structure might take less time, while a project involving extensive preparation work, such as removing old siding or repairing underlying damage, will increase the labor hours and consequently the overall cost.
Estimated Cost Range for a Typical Shiplap Siding Project
| Project Size (sq ft) | Wood Shiplap | Vinyl Shiplap | Fiber Cement Shiplap |
|---|---|---|---|
| 500 | $7,500 – $15,000 | $2,250 – $4,500 | $4,500 – $9,000 |
| 1000 | $15,000 – $30,000 | $4,500 – $9,000 | $9,000 – $18,000 |
| 1500 | $22,500 – $45,000 | $6,750 – $13,500 | $13,500 – $27,000 |
Ultimately, the success of your shiplap siding project hinges on careful planning and execution. By understanding the nuances of material selection, installation techniques, and long-term maintenance, you can achieve a stunning and durable result that enhances your home’s aesthetic appeal and value. Remember to factor in all costs, from materials to labor, and choose a material that aligns with your budget and desired lifespan. With the right approach, your shiplap siding will be a source of pride and enjoyment for years to come. Don’t be afraid to experiment with different styles and applications to create a truly unique look.
Detailed FAQs
What is the average lifespan of shiplap siding?
Lifespan varies greatly depending on the material. Wood can last 20-50 years with proper maintenance, while vinyl can last 20-40 years, and fiber cement boasts a lifespan of 50+ years.
Can I install shiplap siding myself?
While DIY is possible, especially with vinyl, professional installation is recommended, particularly for wood or fiber cement, to ensure proper alignment and longevity.
How often should I clean my shiplap siding?
Regular cleaning, ideally once or twice a year, using a pressure washer (low pressure for wood) and mild detergent, will help maintain its appearance and prevent damage.
Does shiplap siding add value to my home?
Yes, generally, well-maintained shiplap siding can increase your home’s curb appeal and market value, particularly if it complements the overall architectural style.
What’s the best way to repair damaged shiplap boards?
Repair methods depend on the material and extent of damage. Minor scratches can be touched up with paint, while severely damaged boards may need replacement. Consult a professional for major repairs.
