Dreaming of a fresh look for your home’s exterior? Replacing your house siding is a significant undertaking, impacting both curb appeal and property value. But navigating the world of vinyl, wood, fiber cement, and metal options can feel overwhelming. This guide cuts through the confusion, offering a comprehensive roadmap from initial planning to final installation, empowering you to make informed decisions and achieve stunning results.
We’ll delve into the intricacies of each siding material, comparing costs, durability, maintenance needs, and aesthetic qualities. Learn the proper techniques for removal, preparation, and installation, ensuring a professional-looking finish. Discover how to budget effectively, find reputable contractors, and even boost your home’s value with strategic siding choices. Get ready to transform your house into the home of your dreams.
Types of House Siding
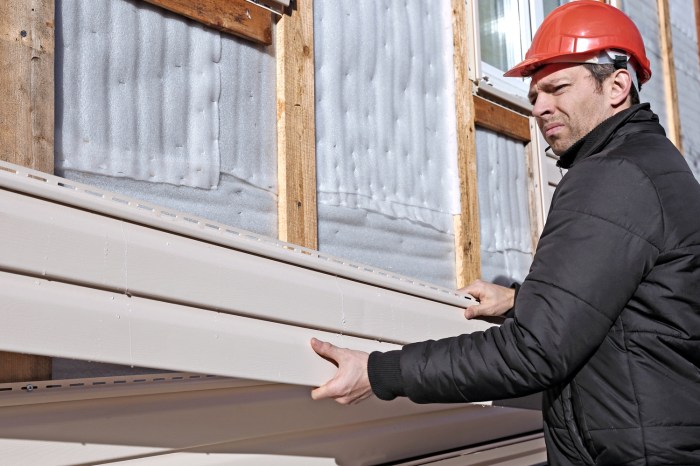
Choosing the right siding for your home is a crucial decision impacting both aesthetics and longevity. The initial investment and long-term maintenance costs vary significantly depending on the material selected. Understanding the pros and cons of each type will help you make an informed choice that aligns with your budget and lifestyle.
Vinyl Siding
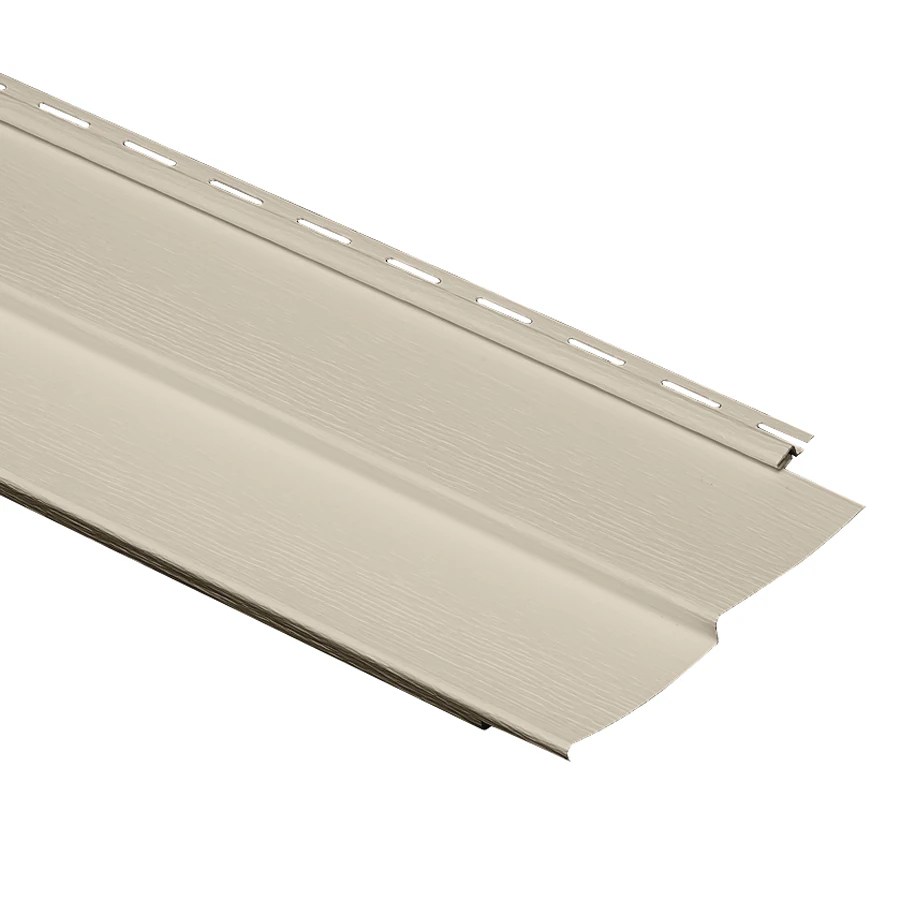
Vinyl siding is a popular choice due to its affordability and low maintenance. It’s typically made from polyvinyl chloride (PVC), offering a wide range of colors and styles to mimic wood or other materials. Vinyl is resistant to rot, insects, and moisture, making it a durable option for many climates. However, it can be susceptible to damage from strong impacts, and its lifespan is generally estimated at 20-30 years. Regular cleaning with soap and water is usually sufficient to maintain its appearance. Considered the most budget-friendly option, vinyl siding’s low cost initially can be offset by the need for replacement sooner than more expensive materials.
Wood Siding
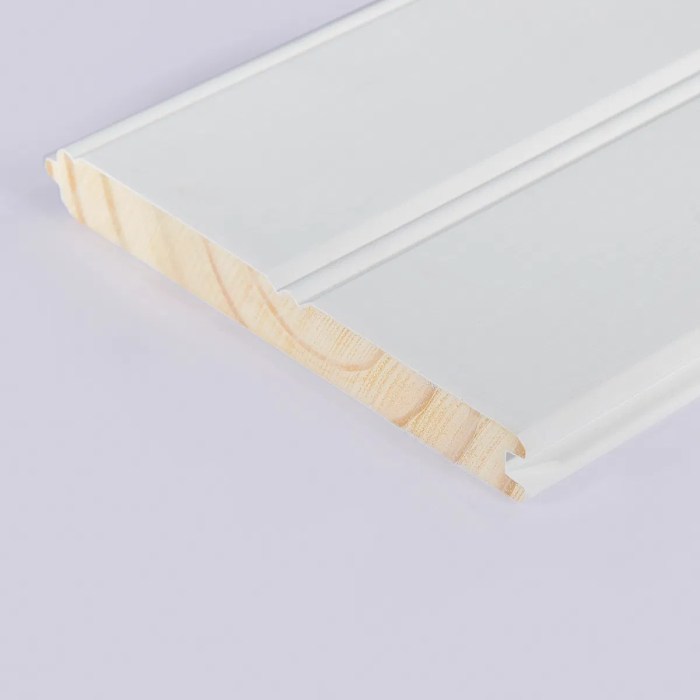
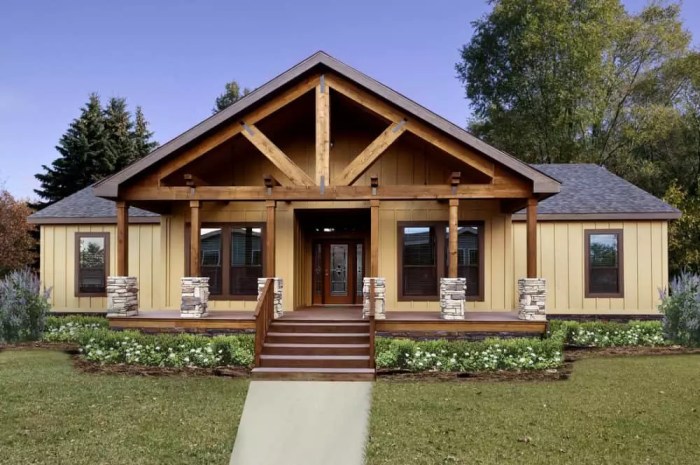
Wood siding offers a classic, natural look that many homeowners find appealing. Options range from cedar and redwood, known for their durability and resistance to rot, to less expensive softwoods. Properly maintained wood siding can last for 50 years or more, but it requires more upkeep than vinyl. This includes regular painting or staining to protect against moisture damage and insect infestation. The initial cost of wood siding is higher than vinyl, but its potential longevity can make it a worthwhile investment, especially for homes in areas with higher property values where curb appeal is a significant factor. Think of the timeless elegance of a New England-style home clad in weathered cedar.
Fiber Cement Siding
Fiber cement siding combines cement, cellulose fibers, and other additives to create a durable, fire-resistant material. It closely mimics the look of wood but offers superior protection against rot, insects, and fire. Fiber cement siding boasts a significantly longer lifespan than vinyl, often lasting 50 years or more with minimal maintenance. However, it’s more expensive than vinyl and requires professional installation due to its weight and fragility. Regular cleaning and occasional repainting are needed to maintain its appearance, but the extended lifespan and robust protection against the elements often make it a cost-effective choice in the long run. This material excels in areas prone to wildfires or harsh weather conditions.
Metal Siding
Metal siding, typically made from aluminum or steel, is highly durable and resistant to damage from weather, insects, and fire. It’s also low-maintenance, requiring only occasional cleaning. Metal siding boasts an exceptionally long lifespan, potentially exceeding 50 years. While initially more expensive than vinyl, the low maintenance and extended lifespan make it a strong contender for cost-effectiveness over the long term. The modern designs and variety of finishes available offer a sleek, contemporary aesthetic. Think of the clean lines and long-lasting durability of a modern farmhouse with metal siding.
Siding Material Comparison
| Siding Type | Cost (Relative) | Durability | Maintenance | Aesthetic Appeal |
|---|---|---|---|---|
| Vinyl | Low | Moderate (20-30 years) | Low | Versatile, can mimic other materials |
| Wood | Medium-High | High (50+ years with proper maintenance) | High | Classic, natural look |
| Fiber Cement | High | High (50+ years) | Medium | Mimics wood, durable |
| Metal | High | Very High (50+ years) | Low | Modern, sleek |
Siding Removal and Preparation
Replacing your house siding is a significant undertaking, but proper preparation is key to a successful and efficient project. This phase, often overlooked, directly impacts the final look and longevity of your new siding. Failing to adequately prepare can lead to costly mistakes down the line, from uneven surfaces to compromised structural integrity. Let’s dive into the crucial steps involved in removing your old siding and preparing your home for its transformation.
Removing existing siding requires a systematic approach and the right tools. Safety should always be your top priority. Improper removal can lead to injury from falling debris or damage to the underlying structure. Careful planning and execution are essential to minimize risk and maximize efficiency.
Siding Removal Techniques
The method for removing existing siding depends heavily on the type of siding installed. Vinyl siding, for example, typically involves carefully prying off individual panels starting from the bottom, while wood siding may require more forceful methods depending on its condition and attachment. Always start by disconnecting any electrical wiring or plumbing fixtures that might be attached to the siding. For example, outdoor lighting or water spouts often require disconnection before removal. Next, carefully remove the bottom row of siding, using a pry bar to gently lift each panel away from the wall. Work your way up systematically, taking care not to damage the underlying sheathing or the panels themselves. Remember to wear safety glasses and gloves throughout this process to protect yourself from flying debris and splinters. For stubborn areas, a utility knife might be necessary to cut through any caulking or sealant that is holding the siding in place. Keep a bucket or tarp handy to collect the removed siding, separating it by material type for proper disposal.
Sheathing Inspection and Repair
Once the old siding is removed, a thorough inspection of the underlying sheathing is critical. This is your opportunity to identify and address any issues before installing the new siding. Look for signs of rot, water damage, insect infestation, or loose boards. Damaged areas must be repaired or replaced. For example, replacing a small section of rotted wood sheathing involves cutting out the damaged area and fitting a new piece of the same size and material. Ensure that all nails are securely fastened and that the sheathing is level and plumb. Any unevenness will translate to imperfections in the new siding installation. Using a level and measuring tape, carefully assess the wall for any significant deviations from plumb. You may need to use shims to correct minor irregularities. For major structural issues, consult a qualified contractor before proceeding.
Responsible Disposal of Old Siding
Proper disposal of old siding is environmentally responsible and often mandated by local regulations. Avoid simply dumping old siding materials in landfills. Many communities offer recycling programs for specific types of siding, such as vinyl or aluminum. Check with your local waste management authority to determine the appropriate disposal methods and locations for your area. For example, some areas offer designated drop-off centers for construction and demolition debris, where you can sort and dispose of materials correctly. Wooden siding, depending on its condition, might be suitable for firewood or repurposing in other projects if it is not treated with harmful chemicals. Always ensure you comply with local regulations concerning hazardous waste disposal. This might involve separate handling of materials containing lead-based paint, asbestos, or other harmful substances.
Siding Installation Techniques
Proper siding installation is crucial for a home’s curb appeal, energy efficiency, and longevity. A poorly installed siding job can lead to costly repairs down the line, including water damage, structural issues, and aesthetic flaws. Mastering the techniques for various siding types is key to a successful project. This section details the step-by-step processes for installing vinyl and fiber cement siding, highlighting key differences and best practices.
Vinyl Siding Installation
Installing vinyl siding is generally considered a DIY-friendly project, but precision is key. Begin by establishing a level starting point, usually at a corner or a prominent architectural feature. This ensures consistent alignment throughout the installation. Each subsequent piece of siding is then overlapped, typically with a 1/2-inch to 3/4-inch overlap, creating a weather-tight seal. This overlap is crucial for preventing water penetration. Fastening is achieved using galvanized nails or siding staples, carefully driven into the nailing hem of each panel to avoid damaging the vinyl. Over-driving nails can cause unsightly dimples or cracks. Remember to leave expansion space at the top and bottom of each panel to account for thermal expansion and contraction. Proper installation involves using starter strips and J-channels at corners and window/door frames for a clean, professional finish. Using a level throughout the process is essential for a straight and visually appealing installation.
Fiber Cement Siding Installation
Fiber cement siding offers superior durability and fire resistance compared to vinyl, but its installation requires more expertise and specialized tools. Unlike vinyl, fiber cement is significantly heavier and less forgiving of mistakes. Pre-drilling pilot holes is essential to prevent cracking during fastening. This is a critical step that avoids the common mistake of splitting the fiber cement board during installation. The use of stainless steel nails or screws is recommended for superior corrosion resistance. Because fiber cement is heavier and less flexible, precise measurements and cuts are paramount. Cutting often involves specialized tools like circular saws with diamond blades to achieve clean, straight cuts. The installation process itself is similar to vinyl in terms of overlapping and starting points, but the increased weight and rigidity demand more care and attention to detail. Proper use of flashing and sealant around windows and doors is also crucial to prevent water intrusion.
Comparison of Siding Installation Methods
The installation methods for different siding types, including horizontal and vertical installation, vary significantly. Choosing the right method depends on the siding material, the home’s architectural style, and personal preference.
- Material: Vinyl siding is lightweight and easily manipulated, allowing for faster installation. Fiber cement siding, on the other hand, requires more precise cuts and heavier-duty tools due to its weight and rigidity. Wood siding demands expertise in carpentry techniques and proper sealing to prevent rot and insect damage.
- Installation Direction: Horizontal installation is the most common for all siding types, offering a classic and visually appealing look. Vertical installation can create a modern aesthetic, but it may require more attention to water management to prevent water from running down the seams.
- Fastening: Vinyl siding is typically fastened with nails or staples, while fiber cement requires pre-drilled holes and stainless steel fasteners to prevent cracking. Wood siding often uses nails, but the specific type and spacing depend on the wood species and climate.
- Overlapping: Overlap is crucial for all siding types to prevent water penetration. The exact amount of overlap varies based on the material and manufacturer’s instructions.
- Tools and Equipment: Vinyl siding installation requires relatively simple tools, while fiber cement demands specialized saws, measuring tools, and safety equipment. Wood siding necessitates a broader range of carpentry tools.
Cost Considerations and Budgeting
Replacing your house siding is a significant investment, impacting both your home’s curb appeal and its long-term protection. Understanding the associated costs is crucial for effective budgeting and avoiding financial surprises. This section breaks down the typical expenses, provides a sample budget, and offers strategies for cost-effective choices without compromising quality.
The total cost of siding replacement varies significantly based on factors like house size, siding material selection, labor rates in your region, and the complexity of the project (e.g., existing damage, difficult-to-access areas). It’s vital to obtain multiple detailed quotes from reputable contractors to compare pricing and scope of work.
Typical Cost Breakdown for Siding Replacement
The overall cost can be categorized into three primary areas: materials, labor, and permits. Materials represent the cost of the siding itself, along with necessary components like flashing, trim, and fasteners. Labor costs encompass the time and expertise of the installation crew, which can fluctuate based on experience and local market rates. Permits are legally required for most home improvement projects and vary depending on your location and the project’s scope.
Sample Budget for a Medium-Sized House
This sample budget illustrates potential expenses for a medium-sized house (approximately 2,000 square feet) using vinyl siding. Remember that these are estimates, and actual costs may differ based on your specific circumstances. Always get personalized quotes from contractors.
| Category | Item | Estimated Cost | Notes |
|---|---|---|---|
| Materials | Vinyl Siding | $5,000 – $8,000 | Cost varies significantly based on quality and style. |
| Trim and Flashing | $1,000 – $2,000 | Includes necessary accessories for a professional finish. | |
| Fasteners and Sealants | $200 – $500 | Essential for securing and protecting the siding. | |
| Labor | Siding Removal and Preparation | $2,000 – $4,000 | This can be labor-intensive depending on the existing siding. |
| Siding Installation | $4,000 – $8,000 | Labor costs are significantly influenced by the size and complexity of the project. | |
| Permits and Inspections | $300 – $800 | Fees vary greatly by location and project requirements. | |
| Contingency | $500 – $1,000 | Always allocate a buffer for unexpected expenses. | |
| Total Estimated Cost | $13,000 – $24,500 | This is a broad range; obtain multiple quotes for accurate pricing. |
Strategies for Cost-Effective Siding Replacement
While quality and durability are paramount, there are ways to manage costs without sacrificing longevity. Consider these strategies:
Choosing less expensive, yet durable, siding materials like vinyl or fiber cement can significantly reduce costs compared to higher-end options like cedar or brick. Negotiating with multiple contractors to secure competitive pricing is crucial. Exploring financing options, such as home improvement loans, can make the project more manageable financially. Finally, tackling some preparatory work yourself, such as removing old siding (if feasible and safe), can help reduce overall labor costs.
Finding and Hiring Contractors
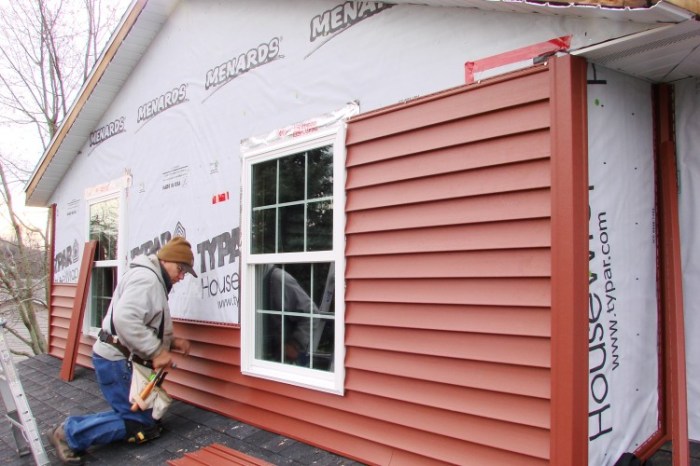
Replacing your house siding is a significant investment, and choosing the right contractor is crucial for a successful project. A poorly chosen contractor can lead to cost overruns, shoddy workmanship, and prolonged project timelines. This section Artikels strategies for identifying reliable and qualified siding contractors, ensuring a smooth and satisfactory renovation.
Finding the right contractor involves a multi-step process that prioritizes thorough vetting and careful comparison. Don’t rush this critical decision; your peace of mind and the longevity of your siding depend on it.
Contractor Qualification Verification
Verifying a contractor’s qualifications is paramount. This involves confirming their licensing and insurance status, as well as reviewing their past performance. Check your state’s licensing board website for contractor registration and licensing information. Confirm that their license is current and in good standing. Furthermore, request proof of general liability and workers’ compensation insurance. This protects you from potential financial liabilities in case of accidents or damages during the project. Finally, look for online reviews and testimonials from previous clients to gauge their reputation and work quality. A reputable contractor will readily provide this information.
Obtaining and Comparing Multiple Quotes
Securing multiple quotes from different contractors is essential for fair price comparison. Provide each contractor with the same detailed project specifications, including the type of siding, the area to be covered, and any special requirements. This ensures apples-to-apples comparison. Analyze each quote carefully, paying attention to the breakdown of costs (materials, labor, permits, etc.), the proposed timeline, and the warranty offered. Don’t solely focus on the lowest price; consider the overall value proposition, including the contractor’s experience, reputation, and the quality of materials used. For example, a quote that seems significantly lower than others might indicate the use of inferior materials or a lack of necessary expertise.
Questions to Ask Potential Contractors
Before committing to a contractor, it’s crucial to ask specific questions to assess their suitability. A comprehensive list of questions will help you make an informed decision.
- How long have you been in business, and what is your experience with [specific siding type] installation?
- Can you provide references from past clients who have had similar projects completed?
- What is your process for handling unexpected issues or changes during the project?
- What is your warranty policy, and what does it cover?
- Do you have a detailed project timeline, and how will you manage potential delays?
- What safety measures do you implement on the job site?
- Are all necessary permits included in your quote, or will there be additional costs?
- What is your payment schedule, and what are your payment terms?
- Can you provide a written contract outlining all aspects of the project?
- What is your cleanup process at the end of the project?
Thoroughly vetting contractors and obtaining multiple quotes are critical steps in ensuring a successful siding replacement project. Remember, the initial investment in thorough research will save you potential headaches and costs in the long run.
Visual Examples of Siding Projects
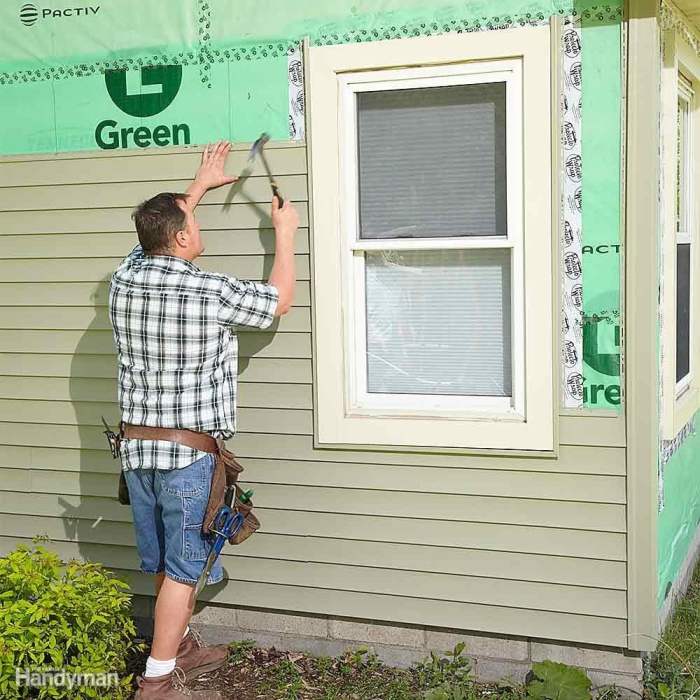
Choosing the right siding can dramatically transform your home’s exterior, impacting both its curb appeal and market value. The right materials and color scheme can modernize a dated look, add character to a bland façade, or simply enhance the existing architectural style. Let’s explore some compelling examples.
The following examples showcase how different siding choices can significantly alter a home’s aesthetic, highlighting the potential for increased curb appeal and a higher return on investment. Remember, these are just examples; the best choice for your home will depend on your personal style, budget, and the local climate.
Three Diverse Siding Projects
These three projects illustrate the versatility of siding materials and the impact they can have on a home’s overall appearance. Each project demonstrates a unique approach to color, texture, and material selection, resulting in vastly different aesthetic outcomes.
- Project 1: A Modern Farmhouse Transformation. This project involved replacing the existing aged wood clapboard siding of a 1950s ranch-style home with sleek, charcoal-grey fiber cement panels. The new siding features a smooth, linear profile, creating a sharp contrast to the home’s original rustic charm. White trim around the windows and doors provides a crisp, clean accent, enhancing the modern farmhouse aesthetic. The overall effect is sophisticated, contemporary, and timeless. Imagine a home with a clean, simple silhouette, the dark grey siding providing a dramatic backdrop to the bright white accents. The landscaping, perhaps featuring native grasses and low-maintenance shrubs, complements the clean lines of the siding, creating a unified and cohesive design.
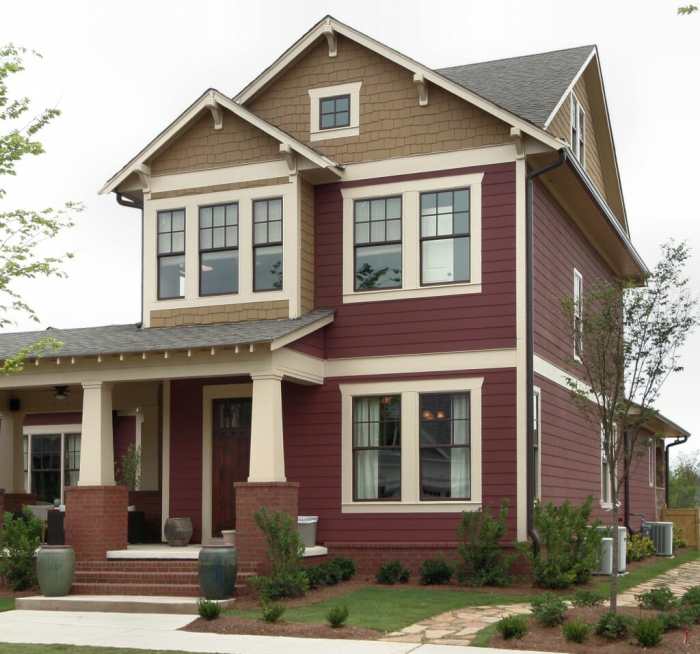
- Project 2: A Victorian Revival with Vinyl Siding. This project focused on restoring a late 19th-century Victorian home. The original wood siding was severely deteriorated, requiring complete replacement. The homeowners opted for high-quality vinyl siding that mimicked the look of traditional wood shingles. They chose a deep, rich burgundy color, complemented by off-white trim and detailed window casings. The textured vinyl siding successfully replicated the intricate detailing of the original wood shingles, maintaining the home’s historical character. Picture a home with a steeply pitched roof, multiple gables, and elaborate trim work. The burgundy siding provides a sense of warmth and richness, while the off-white trim accentuates the architectural details. The overall effect is elegant, inviting, and historically accurate.
- Project 3: A Coastal Cottage Makeover with Cedar Shake. This project involved a small coastal cottage that was updated with natural cedar shake siding. The homeowners selected a light, driftwood-grey stain that allowed the natural wood grain to show through. The horizontal siding complemented the cottage’s low profile and created a relaxed, beachy atmosphere. The natural texture of the cedar shake siding adds a rustic, organic feel. Envision a charming cottage with a cozy front porch and flower boxes overflowing with colorful blooms. The light grey cedar shake siding blends seamlessly with the natural surroundings, evoking a sense of calm and tranquility. The overall effect is inviting, casual, and perfectly suited to its coastal location.
Revitalizing your home’s exterior with new siding is a rewarding project that enhances both beauty and value. By carefully considering the various siding materials, understanding the installation process, and working with a qualified contractor, you can achieve a stunning transformation. Remember, the key is meticulous planning, informed decision-making, and attention to detail. With this guide as your compass, you’re well-equipped to navigate the process confidently and enjoy the stunning results for years to come. Your dream home awaits!
Essential FAQs
Can I install siding myself?
While possible for some types of siding, professional installation is generally recommended for optimal results and warranty coverage. DIY can lead to mistakes that are costly to fix.
How long does siding replacement take?
The timeframe varies depending on house size, siding type, and weather conditions. Expect several days to several weeks for a typical project.
What’s the best time of year to replace siding?
Spring and fall are generally ideal, avoiding extreme heat or cold that can affect installation and material performance.
Do I need permits for siding replacement?
Permits are often required, depending on your local building codes. Check with your city or county building department before starting the project.
How do I dispose of old siding responsibly?
Check with your local waste management facility for proper disposal guidelines. Some materials may require special handling or recycling.
