Clapboard siding, a classic architectural element, offers a timeless appeal that transcends fleeting trends. From its humble beginnings as a practical building material to its current role as a design statement, clapboard has graced homes across styles and eras. This guide delves deep into the world of clapboard siding, exploring its history, installation, maintenance, design possibilities, and environmental impact. We’ll uncover the nuances of choosing the right materials, navigating the installation process, and maximizing the longevity and aesthetic value of your clapboard investment. Get ready to unlock the secrets to successfully incorporating this versatile siding into your next project.
We’ll cover everything from selecting the perfect profile and color scheme to understanding the long-term maintenance requirements and cost considerations. Whether you’re a seasoned DIY enthusiast or a homeowner embarking on a renovation, this comprehensive guide will equip you with the knowledge to make informed decisions and achieve stunning results. Prepare to transform your home’s exterior with the enduring charm of clapboard siding.
What is Clapboard Siding?
Clapboard siding, a classic and enduring exterior cladding choice, offers a timeless aesthetic appeal and proven durability. Its popularity stems from a combination of attractive visual characteristics, relatively straightforward installation, and lasting protection against the elements. Understanding its composition, styles, and historical significance provides a comprehensive appreciation for this architectural staple.
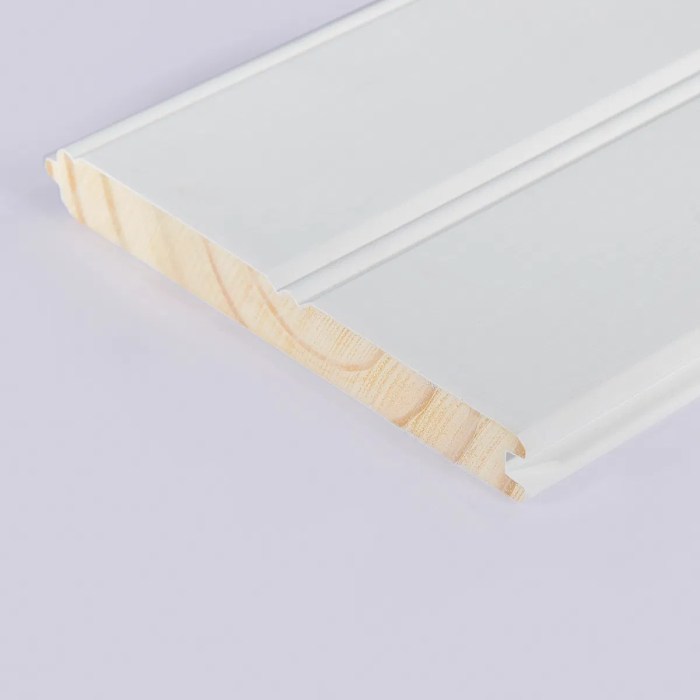
Clapboard siding is a type of horizontal overlapping siding, characterized by its long, narrow boards that are installed in rows with each board overlapping the one below. This overlapping creates a weather-resistant barrier, shedding water and protecting the underlying structure. The result is a visually pleasing, textured surface that has been a mainstay of residential and commercial buildings for centuries.
Materials Used in Clapboard Siding Manufacturing
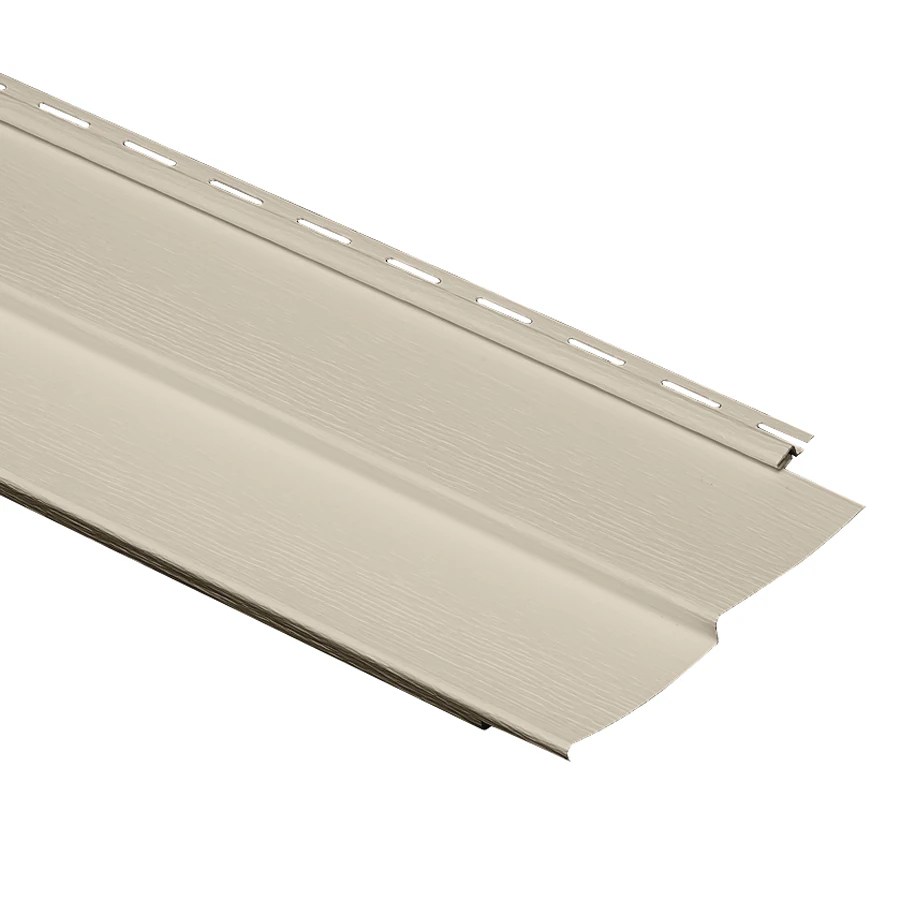
The materials used significantly impact the durability, cost, and aesthetic qualities of clapboard siding. Common materials include wood, fiber cement, vinyl, and engineered wood. Wood clapboard, traditionally made from cedar, redwood, or pine, offers a natural beauty and warmth, though it requires more maintenance than other options. Fiber cement clapboard, a composite of cement, cellulose fibers, and other additives, boasts exceptional durability and fire resistance. Vinyl clapboard provides a low-maintenance, budget-friendly alternative, while engineered wood offers a compromise between the natural look of wood and the durability of fiber cement. Each material presents a unique balance of advantages and disadvantages depending on the specific needs and budget of the project.
Clapboard Siding Styles and Profiles
Clapboard siding comes in a variety of profiles, influencing both the aesthetic and the performance characteristics. The most common profile is the bevel siding, characterized by its tapered edges that create a shadow line between each board, enhancing the visual texture. Other profiles include Dutch lap siding, which features a more pronounced overlap, and shiplap siding, which has a flush overlap, creating a cleaner, more modern look. The choice of profile depends on personal preference and the desired architectural style. For instance, a traditional New England home might benefit from bevel siding, while a modern farmhouse might be better suited to shiplap. The variety in profiles allows for considerable design flexibility, catering to diverse architectural styles and personal tastes.
Historical Context and Evolution of Clapboard Siding
Clapboard siding’s history is deeply intertwined with the development of North American architecture. Early examples, often made from readily available wood, were prevalent in colonial-era homes. The simple, efficient design provided effective weather protection while requiring relatively simple tools and techniques for installation. As technology advanced, so did the materials and manufacturing processes. The introduction of machine-made clapboard in the 19th century led to increased production and affordability, making it a more widespread building material. Today, clapboard siding continues to evolve, with new materials and profiles offering improved durability, maintenance ease, and aesthetic options. Its enduring popularity is a testament to its enduring appeal and practicality.
Installation and Maintenance of Clapboard Siding
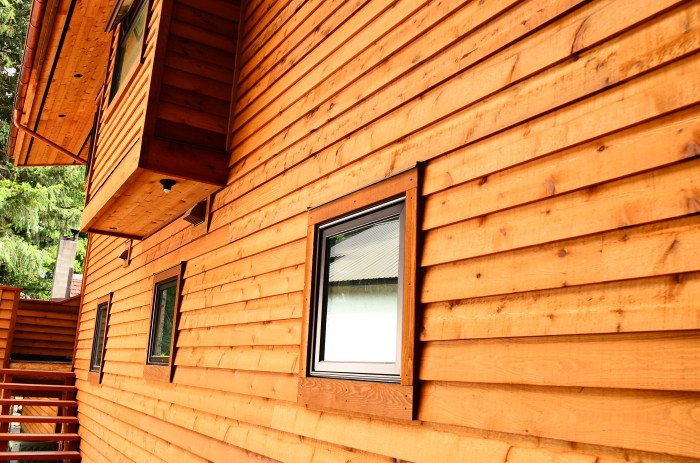
Installing and maintaining clapboard siding correctly ensures a beautiful, long-lasting exterior for your home. Proper installation prevents costly repairs down the line, while regular maintenance protects your investment and enhances curb appeal. Let’s dive into the specifics.
Clapboard Siding Installation: A Step-by-Step Guide
Installing clapboard siding requires precision and attention to detail. This step-by-step guide will help you navigate the process successfully. Remember to always consult local building codes and consider hiring a professional for large or complex projects.
Step 1: Preparation Begin by preparing the surface. This includes removing old siding, ensuring the underlying sheathing is sound, and addressing any water damage or rot. A properly prepared surface is crucial for a successful installation.
Step 2: Framing and Sheathing Ensure proper framing and sheathing are in place. This forms the foundation for your siding and provides a stable surface for installation. Check for any gaps or inconsistencies before proceeding.
Step 3: Water-Resistant Barrier Install a water-resistant barrier, such as house wrap, to protect the structure from moisture. This step is vital for preventing water damage and maintaining the integrity of your home’s exterior.
Step 4: Installing the First Course Start at the bottom of the wall and install the first course of clapboards, ensuring proper alignment and spacing. Use appropriate fasteners and maintain consistent overlap.
Step 5: Subsequent Courses Continue installing subsequent courses, maintaining consistent overlap and alignment. Regularly check for levelness and plumbness to ensure a straight and even finish.
Step 6: Finishing Touches Install trim, flashing, and other necessary components to complete the installation. Pay close attention to detail around windows, doors, and corners to prevent water penetration.
| Tool | Description | Purpose | Quantity |
|---|---|---|---|
| Measuring Tape | A flexible tape measure for accurate measurements. | Accurate measurement of siding and spacing. | 1 |
| Level | A tool used to ensure horizontal and vertical alignment. | Ensuring straight and even siding installation. | 1 |
| Circular Saw | A power saw for cutting clapboards to size. | Precise cutting of siding to fit specific areas. | 1 |
| Hammer | Used for driving nails or staples. | Securing clapboards to the wall. | 1 |
| Nail Gun (optional) | A pneumatic tool for faster and more efficient nailing. | Speeds up the installation process. | 1 |
| Safety Glasses | Protective eyewear to prevent eye injuries. | Protecting eyes from flying debris. | 1 pair |
| Work Gloves | Protective handwear to prevent cuts and abrasions. | Protecting hands during installation. | 1 pair |
Clapboard Siding Maintenance and Repair
Regular maintenance significantly extends the lifespan of your clapboard siding. Neglecting maintenance can lead to costly repairs and premature deterioration.
Proper maintenance involves a combination of regular inspections and proactive care. Addressing minor issues promptly prevents them from escalating into larger, more expensive problems. This proactive approach saves you both time and money in the long run.
- Regular Inspections: Inspect your siding at least twice a year, in spring and fall, looking for signs of damage, loose boards, or water damage.
- Cleaning: Clean your siding regularly using a pressure washer or a garden hose with a nozzle. Avoid using harsh chemicals that could damage the finish.
- Caulking and Sealing: Inspect and re-caulk or seal any gaps or cracks around windows, doors, and other areas where water could penetrate.
- Repairing Damaged Boards: Replace any damaged or rotten boards promptly to prevent further damage. This involves carefully removing the damaged board and replacing it with a new one, ensuring proper overlap and fastening.
- Painting or Staining: Repaint or restain your siding every few years, depending on the type of paint or stain used and exposure to the elements. This protects the wood from the elements and maintains its aesthetic appeal.
Common Clapboard Siding Issues
Several common issues can arise during installation or maintenance. Understanding these potential problems allows for proactive measures and effective solutions.
Common issues range from improper installation leading to water damage to natural wear and tear causing deterioration. Addressing these problems swiftly minimizes the potential for extensive repairs.
- Water Damage: Improper installation, lack of flashing, or damaged caulking can lead to water penetration, causing rot and structural damage.
- Insect Infestation: Wood-boring insects can damage clapboard siding, requiring repair or replacement of affected areas.
- Loose or Damaged Boards: Extreme weather conditions or improper installation can cause boards to loosen or become damaged, requiring repair or replacement.
- Paint or Stain Failure: Improper preparation or low-quality paint or stain can lead to premature failure, requiring repainting or restaining.
Advantages and Disadvantages of Clapboard Siding
Choosing the right exterior siding for your home is a crucial decision impacting both aesthetics and longevity. Clapboard siding, with its classic appeal and relatively straightforward installation, remains a popular choice. However, like any building material, it presents both advantages and disadvantages that homeowners should carefully consider before making a final decision. Understanding these aspects will empower you to make an informed choice that aligns perfectly with your needs and budget.
Benefits of Clapboard Siding
Clapboard siding offers a range of compelling advantages. Its timeless appeal adds character and curb appeal to any home, seamlessly blending with various architectural styles. The natural wood provides excellent insulation, helping to regulate indoor temperatures and potentially reducing energy costs. Furthermore, clapboard is a relatively durable material, capable of withstanding the elements for many years with proper maintenance. The inherent beauty of wood, particularly when treated and finished correctly, offers a level of visual richness difficult to replicate with other materials. Finally, the versatility of clapboard allows for customization, with options for various wood types, stains, and paint colors to match personal preferences.
Drawbacks of Clapboard Siding
While offering many benefits, clapboard siding also presents certain drawbacks. The most significant is the higher initial cost compared to some alternatives like vinyl. Maintenance is also more demanding, requiring regular cleaning, painting, or staining to prevent damage from moisture and pests. Wood is susceptible to rot, insect infestation, and warping if not properly treated and maintained. Furthermore, clapboard siding is more vulnerable to fire damage than some non-combustible alternatives. Finally, the installation process can be more labor-intensive and time-consuming than other siding options, potentially increasing overall project costs.
Comparison of Clapboard Siding with Other Options
To provide a clearer picture, let’s compare clapboard siding to popular alternatives: vinyl, brick, and stucco. The following table summarizes key factors, allowing for a more informed comparison based on your priorities. Remember that actual costs can vary based on location, material quality, and labor costs. Lifespan estimates also depend heavily on maintenance and environmental conditions.
| Material | Cost (Relative) | Maintenance | Lifespan (Years) |
|---|---|---|---|
| Clapboard (Wood) | High | High (Regular painting/staining, cleaning) | 30-50+ (with proper maintenance) |
| Vinyl | Medium | Low (Occasional cleaning) | 20-30 |
| Brick | High | Low (Minimal maintenance) | 50-100+ |
| Stucco | Medium | Medium (Periodic repainting, repair of cracks) | 30-50 |
Design and Aesthetics of Clapboard Siding
Clapboard siding, with its classic appeal and versatility, offers a wide range of design possibilities for homeowners. The choice of color, finish, and architectural style significantly impacts the overall aesthetic of a home, transforming it from a simple structure into a personalized statement. Understanding these design elements allows for the creation of truly unique and visually striking homes.
Three House Facade Designs Using Clapboard Siding
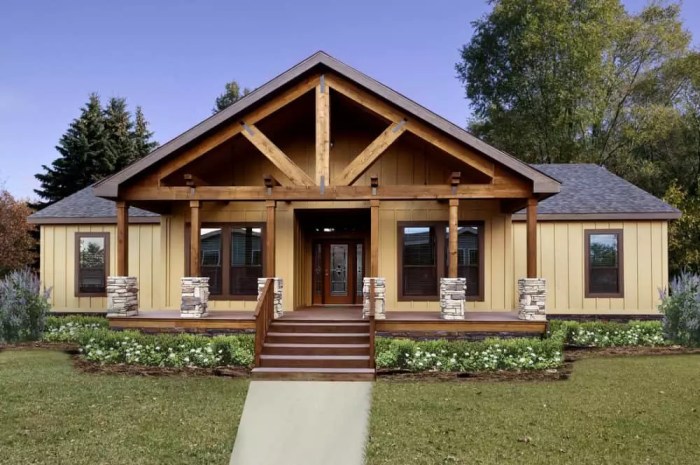
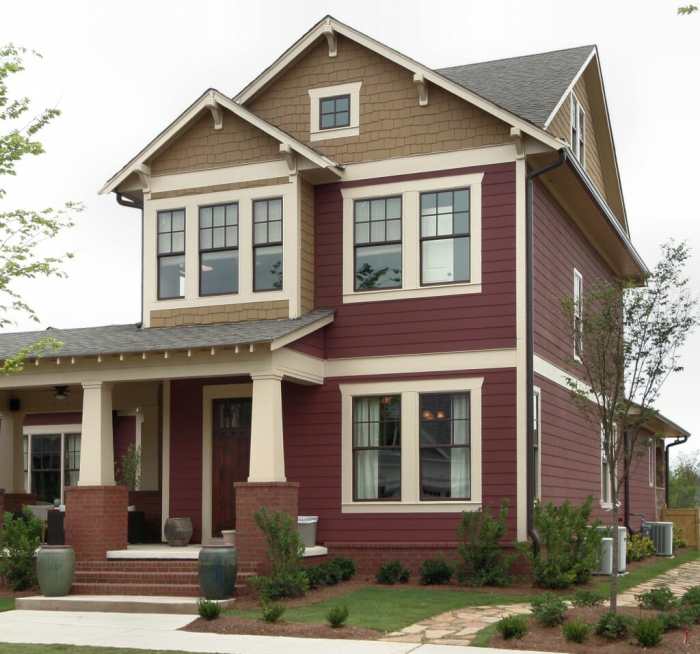
This section showcases three distinct house facades, each demonstrating the versatility of clapboard siding in achieving diverse architectural styles and visual impacts. The examples highlight the interplay of color, material, and architectural details to create unique aesthetics.
- Design 1: Modern Farmhouse with a Rustic Charm. This design utilizes a light gray clapboard siding, creating a clean and contemporary base. Dark gray trim accentuates the windows and doors, adding depth and definition. A wide, covered porch with exposed beams and a dark stained wood floor complements the rustic farmhouse aesthetic. The overall effect is a sophisticated blend of modern minimalism and traditional charm. Imagine a two-story home with large, evenly spaced windows, a slightly pitched roof, and a simple, symmetrical facade. The gray tones create a calming and inviting atmosphere.
- Design 2: Traditional Colonial with Classic Elegance. This design employs a classic white clapboard siding, exuding timeless elegance. Black shutters and a dark gray or black front door provide a strong contrast, highlighting the architectural details. A symmetrical facade with evenly spaced windows and a gently pitched roof creates a balanced and harmonious look. Architectural details like dentil molding and a prominent cornice further enhance the colonial style. Visualize a stately home with multiple evenly spaced windows on both floors, creating a sense of balance and grandeur. The white siding provides a clean, bright backdrop that accentuates the architectural details.
- Design 3: Coastal Cottage with a Relaxed Vibe. This design utilizes a light blue or seafoam green clapboard siding, evoking a relaxed coastal atmosphere. White trim and a light gray or white front door create a fresh and airy feel. A slightly weathered finish on the siding adds to the coastal charm. A small, inviting porch with a simple railing completes the design. Imagine a charming one-and-a-half-story home with a slightly asymmetrical facade, perhaps with a bay window or dormer. The light blue siding brings a calming, seaside feeling to the home.
Impact of Paint Colors and Finishes on Aesthetics
The selection of paint colors and finishes significantly influences the overall aesthetic of a clapboard-sided home. Different colors evoke distinct moods and styles, while finishes affect the texture and perceived age of the siding.
Different color palettes create vastly different moods. Warm colors like reds and browns create a welcoming and traditional feel, while cool colors like blues and greens offer a more modern and calming atmosphere. Darker colors can make a home appear more substantial, while lighter colors create a brighter, more airy feel. A semi-gloss finish provides a clean and modern look, while a matte finish offers a more rustic and textured appearance. A weathered finish can add character and charm to a home, giving it a sense of history and age. The interplay of color and finish allows for considerable customization and expression of personal style.
Clapboard Siding in Various Architectural Periods and Styles
Clapboard siding has been a popular choice across various architectural periods and styles, adapting to evolving tastes and design trends.
- Colonial (17th-18th Centuries): Often featured symmetrical facades, evenly spaced windows, and a simple, elegant design. Clapboard siding in white or light colors was commonly used, creating a clean and classic look. Details such as dentil molding and cornices were frequently incorporated.
- Victorian (19th Century): Characterized by ornate details, asymmetrical facades, and a variety of textures and materials. Clapboard siding in a variety of colors and finishes was used, often with contrasting trim and decorative elements. Gables, turrets, and porches were common features.
- Craftsman (Early 20th Century): Emphasized natural materials and handcrafted details. Clapboard siding, often in earth tones, was frequently used, along with exposed beams, stonework, and low-pitched roofs. A sense of simplicity and functionality was paramount.
- Modern Farmhouse (21st Century): Blends modern minimalism with rustic charm. Clapboard siding in neutral colors, such as grays and whites, is often used, with clean lines and simple details. Large windows, exposed beams, and a focus on natural light are common features.
Environmental Impact and Sustainability
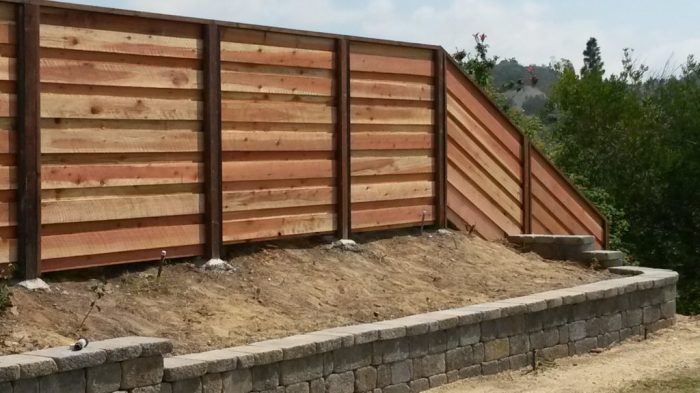
Clapboard siding, while a classic and aesthetically pleasing exterior cladding option, carries an environmental footprint that deserves careful consideration. From its manufacturing process to its eventual disposal, understanding its impact is crucial for making informed decisions about sustainable building practices. This section will delve into the environmental implications of clapboard siding, exploring both its drawbacks and the emerging sustainable alternatives.
The environmental impact of clapboard siding stems primarily from the harvesting and processing of wood, the energy consumption during manufacturing, and the eventual waste generated at the end of its lifespan. Traditional clapboard siding often relies on harvesting lumber from forests, potentially contributing to deforestation and habitat loss if not sourced responsibly. The manufacturing process itself involves energy-intensive steps like milling, drying, and treating the wood with preservatives, all of which contribute to greenhouse gas emissions. Finally, disposal of old clapboard siding can lead to landfill waste, further impacting the environment.
Manufacturing and Disposal Impacts
The environmental burden of manufacturing clapboard siding is significant, encompassing several key aspects. The harvesting of trees, especially if done unsustainably, leads to deforestation and biodiversity loss. The transportation of raw materials to processing plants also contributes to carbon emissions. Manufacturing processes, including cutting, shaping, and treating the wood, require energy, often from fossil fuels, leading to further greenhouse gas emissions. Finally, the packaging and transportation of finished clapboard siding add to the overall environmental impact. Disposal presents another challenge. Landfilling discarded clapboard siding contributes to waste accumulation and the release of methane, a potent greenhouse gas. Recycling options for wood siding are limited, making responsible disposal a crucial consideration. For example, a large-scale construction project using traditional clapboard siding might generate tons of waste at the end of the building’s life cycle, highlighting the need for sustainable alternatives.
Sustainable and Eco-Friendly Options
Fortunately, the market is evolving to offer more sustainable and eco-friendly alternatives to traditional clapboard siding. Recycled wood clapboard siding, made from reclaimed wood, reduces reliance on newly harvested timber and minimizes waste. Similarly, siding made from rapidly renewable resources like bamboo offers a sustainable alternative with a lower environmental footprint. Furthermore, the use of responsibly sourced wood, certified by organizations like the Forest Stewardship Council (FSC), ensures that the timber comes from sustainably managed forests, minimizing environmental damage. These options provide a pathway towards reducing the environmental impact associated with traditional clapboard siding. For instance, a homeowner choosing FSC-certified cedar clapboard reduces the impact of deforestation and supports responsible forestry practices.
Carbon Footprint Comparison
Comparing the carbon footprint of clapboard siding to other exterior cladding materials reveals its relative environmental impact. While the carbon footprint varies significantly depending on the source of the wood and manufacturing processes, clapboard siding generally falls somewhere in the middle compared to other options. Materials like fiber cement siding often have a higher embodied carbon footprint due to the energy-intensive manufacturing process. On the other hand, materials like vinyl siding might have a lower embodied carbon footprint during manufacturing but a much longer lifespan, leading to a higher overall carbon footprint due to potential long-term energy consumption and waste management challenges. Sustainable alternatives like bamboo siding typically exhibit a lower carbon footprint compared to traditional wood clapboard. A life-cycle assessment considering the entire lifespan of the material, from manufacturing to disposal, provides a more comprehensive comparison.
Cost Considerations
Choosing clapboard siding involves a significant financial commitment. Understanding the cost breakdown—from materials to labor and unforeseen expenses—is crucial for budgeting and avoiding project overruns. This section provides a realistic overview of the financial aspects of a clapboard siding project.
The total cost of installing clapboard siding is influenced by a variety of factors, making it difficult to provide a single definitive figure. However, by breaking down the major cost components, we can build a clearer picture and allow you to make informed decisions.
Material Costs
The cost of clapboard siding materials varies considerably depending on the type of wood, its grade, and the size of your house. Cedar, for instance, is a premium choice known for its durability and aesthetic appeal, but it comes with a higher price tag than less expensive options like pine or composite materials. The thickness of the clapboards also impacts cost; thicker boards are generally more expensive but offer greater durability and insulation. Additionally, you’ll need to factor in the cost of other materials such as flashing, underlayment, nails, and caulk. A rough estimate for materials alone can range from $3 to $15 per square foot, depending on the choices made. For a medium-sized house (around 2,000 square feet of siding), this translates to a materials cost between $6,000 and $30,000.
Labor Costs
Labor costs represent a substantial portion of the overall project expense. The hourly rate for experienced siding installers varies regionally, but you can generally expect to pay between $40 and $80 per hour. The total labor cost depends on the complexity of the project, the size of your house, and the number of installers required. A straightforward installation on a medium-sized house might take a crew of two to three workers several days to complete, potentially resulting in a labor cost ranging from $3,000 to $10,000.
Additional Costs
Beyond materials and labor, several other expenses can significantly impact the overall budget. These include:
- Permits and Inspections: Building permits are often required for exterior renovations, adding a few hundred dollars to the overall cost.
- Waste Removal: Disposing of old siding and construction debris adds another layer of expense.
- Preparation Work: If your existing siding needs removal or significant repairs before the new clapboard can be installed, this will increase the project cost.
- Unforeseen Issues: Unexpected problems like rotted wood or damaged sheathing can necessitate additional repairs and materials, leading to cost overruns.
Sample Budget for a Medium-Sized House
Let’s create a sample budget for a medium-sized house (approximately 2,000 square feet of siding) using a mid-range estimate:
| Cost Item | Low Estimate | Mid-Range Estimate | High Estimate |
|---|---|---|---|
| Materials | $6,000 | $15,000 | $30,000 |
| Labor | $3,000 | $6,000 | $10,000 |
| Permits & Inspections | $200 | $500 | $1,000 |
| Waste Removal | $300 | $600 | $1,000 |
| Contingency (for unforeseen issues) | $1,000 | $2,000 | $4,000 |
| Total Estimated Cost | $10,500 | $24,100 | $45,000 |
Remember that this is just a sample budget. The actual cost of your project will vary based on your specific circumstances. It’s always advisable to obtain multiple quotes from reputable contractors before making a decision.
Illustrative Examples
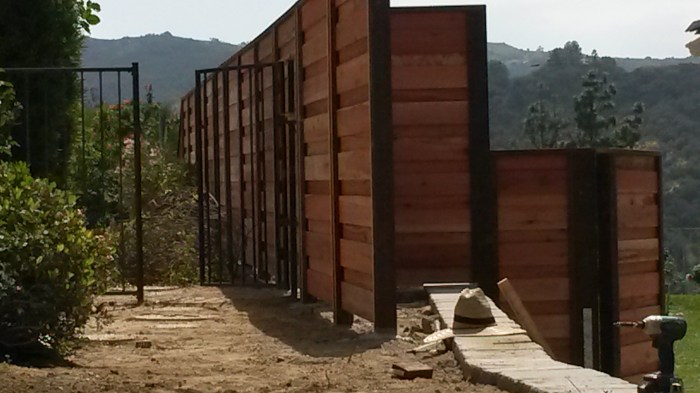
Clapboard siding, a classic and versatile material, offers a wide range of design possibilities. From traditional to contemporary homes, its adaptability allows for unique and visually striking results. Let’s explore a few examples to illustrate its potential.
A Classic Cape Cod Home with Clapboard Siding
Imagine a charming Cape Cod-style house, nestled on a tree-lined street. The siding, a rich, deep navy blue, complements the white trim and the warm, inviting ambiance of the home. The clapboards themselves are wide, creating a sense of horizontal emphasis and enhancing the home’s low-slung profile. The natural wood grain subtly peeks through the semi-gloss paint, adding depth and texture. Double-hung windows with six-over-six panes complete the look, echoing the traditional character of the architectural style. The roof, a classic gray asphalt shingle, provides a neutral counterpoint to the bold siding color. The overall impression is one of timeless elegance and understated sophistication. This example showcases how clapboard siding can be used to achieve a classic, cohesive look that is both aesthetically pleasing and historically appropriate.
Modern Minimalism with Unexpected Clapboard Application
In stark contrast to the traditional Cape Cod example, consider a modern minimalist home where clapboard siding is used in a less conventional manner. This home features a sleek, geometric design with large windows and clean lines. Instead of the traditional horizontal application, the clapboards are installed vertically, creating a dramatic and unexpected visual effect. The siding is a light gray, almost white, creating a seamless transition between the house and its surroundings. The lack of ornamentation further emphasizes the minimalist aesthetic. This example demonstrates the versatility of clapboard siding and its ability to adapt to contemporary architectural styles, showcasing a modern interpretation of a classic material. The vertical installation adds a unique, almost sculptural quality to the building’s facade.
Visual Impact of Different Wood and Paint Finishes
The choice of wood and paint finish significantly impacts the overall aesthetic of clapboard siding. For instance, a cedar clapboard house painted with a bright, cheerful yellow exudes warmth and optimism. The natural grain of the cedar is subtly visible beneath the paint, adding depth and complexity. In contrast, a redwood clapboard house stained with a deep, rich brown presents a more rustic and sophisticated appearance. The natural reddish tones of the redwood are enhanced by the stain, creating a visually striking and dramatic effect. Finally, a painted pine clapboard house with a crisp white finish offers a clean, classic look. The smooth surface of the paint emphasizes the straight lines of the clapboards, creating a sense of order and tranquility. These examples illustrate how different wood types and paint finishes can create vastly different moods and styles, showcasing the design flexibility offered by clapboard siding.
From its historical roots to its contemporary applications, clapboard siding remains a popular and versatile choice for homeowners seeking both durability and aesthetic appeal. By understanding the intricacies of installation, maintenance, and design, you can harness the full potential of clapboard siding to create a home that reflects your personal style and stands the test of time. Remember, careful planning and attention to detail are key to achieving a successful outcome that enhances the curb appeal and value of your property. Now go forth and build (or renovate!) something beautiful.
Question Bank
What is the average lifespan of clapboard siding?
With proper maintenance, clapboard siding can last 30-50 years or even longer, depending on the wood type and climate.
Can I install clapboard siding myself?
While possible for experienced DIYers, professional installation is often recommended for optimal results and to avoid costly mistakes.
How often should I paint or stain clapboard siding?
The frequency depends on the climate and paint/stain type, but every 5-7 years is a good general guideline.
What are some signs that my clapboard siding needs repair?
Look for rotting wood, loose boards, insect damage, significant cracking or warping, and peeling paint or stain.
Is clapboard siding susceptible to pests?
Yes, wood is susceptible to termites and other insects. Pre-treatment and regular inspections are important.
