Dreaming of a home with timeless elegance and enduring appeal? Cedar siding might be your answer. This natural wonder offers a unique blend of beauty, durability, and environmental consciousness. From choosing the right profile and species to mastering installation and maintenance, we’ll navigate the world of cedar siding, revealing everything you need to know to make an informed decision and transform your home’s exterior.
This comprehensive guide delves into the diverse types of cedar siding available, comparing their costs, durability, and maintenance needs. We’ll walk you through the installation process step-by-step, offering practical tips and tricks to ensure a flawless finish. We’ll also cover essential maintenance practices to protect your investment and keep your cedar siding looking its best for years to come. Finally, we’ll compare cedar siding to alternatives, helping you determine if it’s the right choice for your project and budget.
Types of Cedar Siding
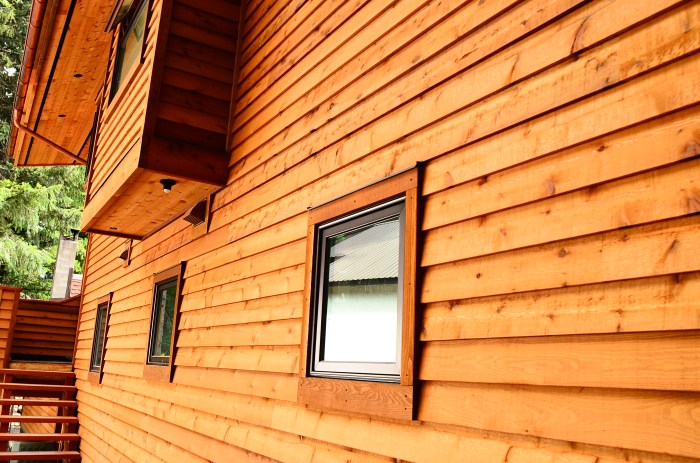
Choosing the right cedar siding can significantly impact your home’s curb appeal, longevity, and overall value. Understanding the different types available, their properties, and maintenance requirements is crucial for making an informed decision. This guide will break down the key characteristics of popular cedar siding options to help you navigate this important choice.
Cedar Siding Profiles
Cedar siding comes in a variety of profiles, each offering unique aesthetic qualities and performance characteristics. The choice depends on your desired look and the architectural style of your home.
Bevel Siding: This classic profile features a beveled edge, creating a subtle shadow line that adds depth and texture. Typical dimensions range from 5/8″ to 1″ thick and 4″ to 8″ wide. Bevel siding is versatile and suitable for various architectural styles, from traditional to contemporary.
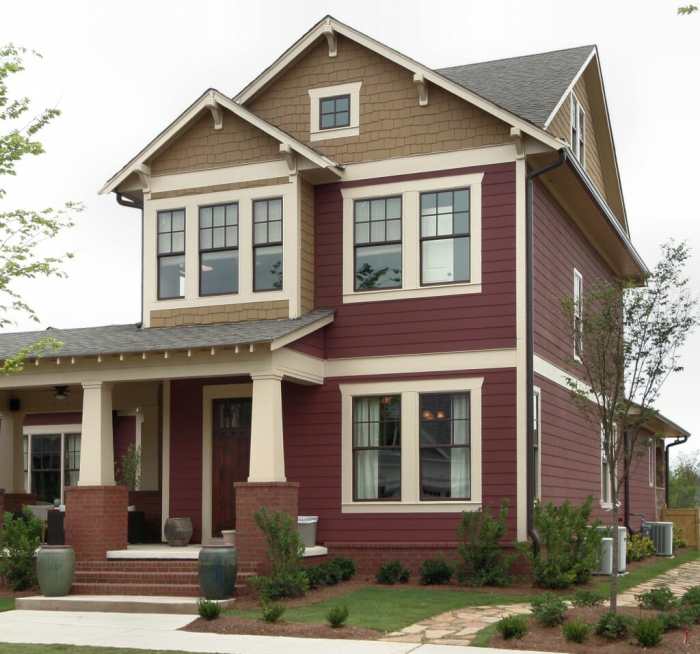
Clapboard Siding: Often referred to as lap siding, clapboard features overlapping horizontal boards. Thickness typically ranges from 1/2″ to 3/4″, with widths varying from 4″ to 8″. The overlapping design provides excellent weather protection. Clapboard is a timeless choice that complements many architectural styles.
Shingle Siding: Cedar shingles offer a rustic and natural look. They are typically thicker than other profiles, ranging from 3/8″ to 1″ thick, and are available in various lengths. Shingles are often hand-split, creating a unique texture and character. This option is ideal for homes with a more traditional or rustic aesthetic.
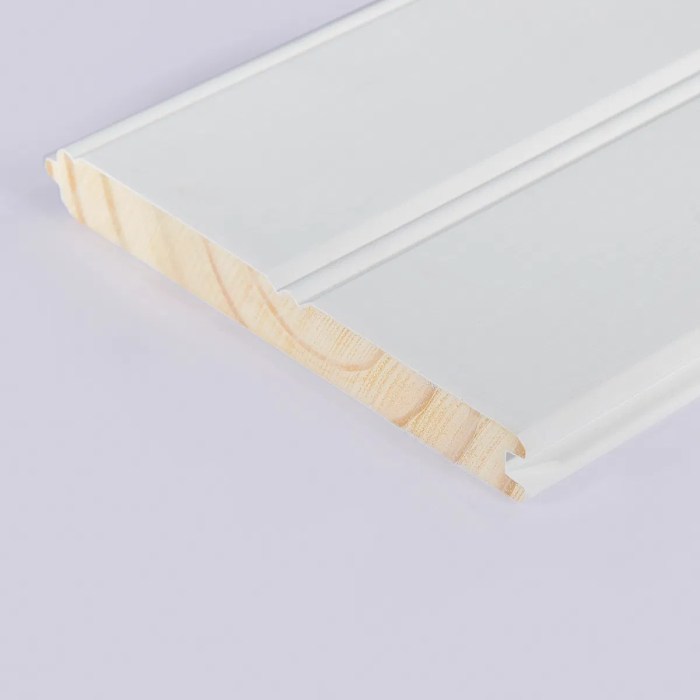
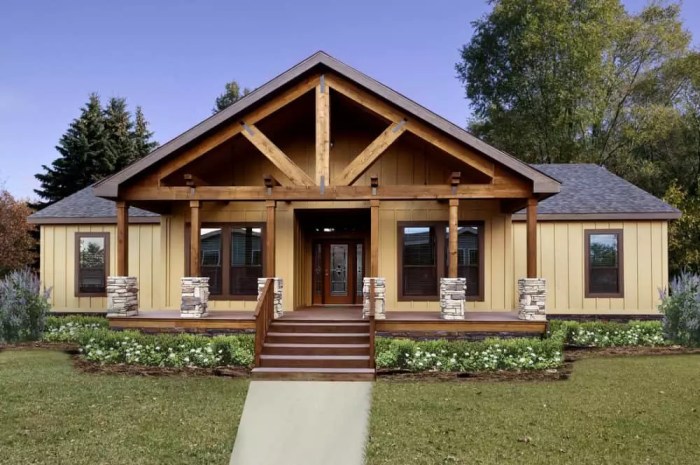
Board and Batten Siding: This profile uses wide vertical boards with narrower strips (battens) covering the seams. Board and batten offers a clean, modern look, often featuring wider boards for a striking visual impact. The width of the boards and battens can be customized to suit different styles. This profile is increasingly popular in contemporary and farmhouse-style homes.
Cedar Species Comparison
Three primary cedar species are commonly used for siding: Western Red Cedar, Eastern White Cedar, and Alaskan Yellow Cedar. Each offers unique characteristics in terms of durability, maintenance, and cost.
Western Red Cedar: Renowned for its natural beauty, dimensional stability, and resistance to decay and insects. It requires relatively low maintenance but may need occasional cleaning and sealing to preserve its rich color. It’s a popular choice due to its attractive price point and performance.
Eastern White Cedar: Known for its lighter color and slightly less resistance to decay compared to Western Red Cedar. It’s often a more affordable option but may require slightly more frequent maintenance, including occasional staining or sealing to protect against moisture damage.
Alaskan Yellow Cedar: The most durable and decay-resistant of the three, Alaskan Yellow Cedar boasts exceptional longevity and requires minimal maintenance. However, it comes with a higher price tag reflecting its superior performance and limited availability.
Cedar Siding Cost Comparison
| Type | Cost Range ($/sq ft) | Durability Rating (1-5, 5 being highest) | Maintenance Needs |
|---|---|---|---|
| Bevel Siding (Western Red Cedar) | $3 – $7 | 4 | Moderate (occasional cleaning and sealing) |
| Clapboard Siding (Western Red Cedar) | $4 – $8 | 4 | Moderate (occasional cleaning and sealing) |
| Shingle Siding (Western Red Cedar) | $5 – $10 | 4 | Moderate to High (depending on shingle type and exposure) |
| Board and Batten (Western Red Cedar) | $6 – $12 | 4 | Moderate (occasional cleaning and sealing) |
| Bevel Siding (Alaskan Yellow Cedar) | $8 – $15 | 5 | Low (minimal maintenance) |
Cedar Siding Installation
Installing cedar siding is a rewarding project that can significantly enhance your home’s curb appeal and value. However, proper preparation and execution are crucial for a long-lasting, beautiful result. This guide will walk you through each step, ensuring you achieve a professional-looking finish.
Wall Preparation for Cedar Siding
Before you even think about installing the siding, meticulous preparation is key. This phase involves ensuring a solid, level surface that’s properly protected from moisture. Neglecting this step can lead to rot, mold, and costly repairs down the line. Start by removing any existing siding or trim, ensuring you address any underlying issues like rotted wood or damaged sheathing. Next, install proper sheathing – typically plywood or OSB – ensuring it’s securely fastened and perfectly aligned. Finally, apply a high-quality moisture barrier, such as housewrap, overlapping seams by at least 6 inches to prevent water penetration. This barrier is your first line of defense against moisture damage, safeguarding your investment.
Fastening Methods for Cedar Siding
Choosing the right fasteners is critical for both aesthetics and longevity. While nails are traditional, screws offer superior holding power and resistance to wind uplift, especially in areas prone to strong winds. For either option, galvanized or stainless steel fasteners are recommended to resist corrosion. When using nails, pre-drilling pilot holes slightly smaller than the nail diameter is recommended to prevent splitting the cedar boards. For screws, countersinking is crucial to ensure a flush finish and prevent the screw heads from protruding. Avoid overdriving fasteners, which can weaken the wood and compromise the integrity of the siding. Remember, proper fastener selection and installation directly impact the durability and appearance of your cedar siding.
Step-by-Step Cedar Siding Installation
This section provides a detailed step-by-step guide to installing your cedar siding. Accurate installation is crucial for a professional and long-lasting result. Always refer to the manufacturer’s instructions for your specific siding product.
- Establish a Starting Line: Begin by establishing a perfectly straight, level starting line at the bottom of the wall. Use a chalk line or laser level for accuracy.
- Install the First Course: Install the first course of siding, ensuring it’s level and aligned with your starting line. Secure it using your chosen fasteners, following the manufacturer’s recommendations for spacing and penetration depth.
- Overlapping Subsequent Courses: Install subsequent courses, overlapping each board according to the manufacturer’s specifications, typically 1 inch to 1 1/2 inches. Maintain consistent overlap for a uniform look.
- Maintaining Alignment: Regularly check for alignment using a level to ensure all courses remain straight and plumb. Use shims as needed to correct any deviations.
- Cutting and Fitting: For corners and around windows and doors, carefully measure and cut the siding boards to fit precisely. Use a miter saw for clean, accurate cuts.
- Finishing Touches: Once the siding is installed, caulk all seams and joints to prevent water penetration. Install trim and finishing pieces to complete the installation.
Illustrative Examples of Cedar Siding Installation
Image 1: Proper Overlap. This image depicts two cedar siding boards installed with a consistent 1-inch overlap. The top edge of the lower board is clearly visible beneath the bottom edge of the upper board, demonstrating the correct technique for preventing water penetration. The fasteners are countersunk and evenly spaced, showing proper installation technique. The boards are aligned vertically and horizontally, indicating careful attention to detail.
Image 2: Correct Fastening. This image shows a close-up of a cedar siding board secured with galvanized nails. The nails are driven straight, flush with the surface of the board, preventing protrusion and ensuring a smooth, professional finish. Notice the absence of nail holes splitting the wood, demonstrating the importance of pre-drilling pilot holes if using nails.
Image 3: Corner Installation. This image illustrates the proper method for installing cedar siding around an exterior corner. The boards are precisely mitered at a 45-degree angle and carefully fitted together to create a seamless and aesthetically pleasing transition. The joints are neatly caulked to ensure watertightness.
Cedar Siding Maintenance and Care
Proper maintenance is crucial for extending the lifespan and preserving the beauty of your cedar siding. Neglecting this aspect can lead to premature deterioration, costly repairs, and a significant reduction in your home’s curb appeal. Regular cleaning, inspection, and protective treatments are essential to keep your cedar siding looking its best and performing optimally for years to come.
Cleaning and Preserving Cedar Siding
Cleaning your cedar siding removes dirt, mildew, and other debris that can damage the wood and compromise its aesthetic appeal. For routine cleaning, a simple solution of mild detergent and water, applied with a soft-bristled brush, is usually sufficient. For more stubborn stains or mildew, a pressure washer can be effective, but use caution to avoid damaging the wood by holding the nozzle at a safe distance and using a low-pressure setting. Always rinse thoroughly with clean water after cleaning. Following the cleaning process, consider applying a high-quality cedar siding preservative. These products help protect the wood from the elements, preventing moisture absorption and UV damage, thus maintaining its natural beauty and extending its life. Always follow the manufacturer’s instructions carefully when using any cleaning solutions or preservatives.
Effects of Weather and Preventative Measures
Cedar siding, while naturally durable, is susceptible to damage from various weather conditions. Prolonged exposure to sunlight can cause fading and cracking, while excessive moisture can lead to rot and mildew growth. Extreme temperature fluctuations can also contribute to wood degradation. To mitigate these effects, regular cleaning and the application of a high-quality water repellent are crucial. Consider installing proper ventilation around the siding to allow for adequate air circulation and prevent moisture buildup. Regularly inspect your siding for any signs of damage, such as cracks, warping, or rot, and address them promptly to prevent further deterioration. In areas prone to severe weather conditions, consider investing in additional protective measures, such as storm shutters or specialized coatings designed to withstand harsh elements.
Routine Maintenance Schedule
Regular inspections and preventative maintenance are key to keeping your cedar siding in top condition. A well-maintained schedule will significantly extend the life of your siding and prevent costly repairs down the line.
- Annual Inspection: Conduct a thorough inspection of your cedar siding at least once a year, preferably in the spring or fall, checking for any signs of damage such as cracks, warping, rot, or insect infestation.
- Spring Cleaning: Clean your siding in the spring to remove any accumulated dirt, debris, and mildew from the winter months. Use a gentle cleaning solution and soft brush or a low-pressure washer.
- Protective Treatment: Apply a high-quality cedar siding preservative every 2-3 years, or as recommended by the manufacturer, to protect the wood from moisture, UV damage, and insects. This helps maintain the color and extends the life of your siding.
- Repair and Replacement: Address any damaged or deteriorated sections of siding promptly. Small cracks can often be repaired with wood filler, while more significant damage may require replacing individual boards or sections.
Cedar Siding Design and Aesthetics
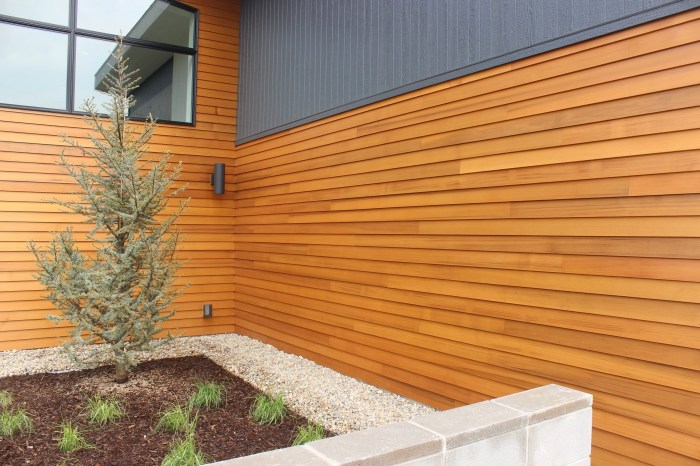
Cedar siding offers unparalleled aesthetic versatility, seamlessly blending with diverse architectural styles and design preferences. Its natural beauty and inherent texture provide a foundation for creating visually stunning and enduring homes. Understanding how to leverage these qualities is key to maximizing the impact of your cedar siding project.
Cedar Siding and Architectural Styles
The natural warmth and rich tones of cedar siding make it a perfect complement to a variety of architectural styles. Its adaptability allows for both rustic charm and modern sophistication, depending on the chosen application and finishing techniques.
- Rustic Style: Imagine a mountain cabin with wide, rough-hewn cedar planks, showcasing the natural grain and knots. A deep, earthy stain enhances the rustic feel, creating a cozy and inviting atmosphere. The uneven texture of the wood contributes to the overall sense of rugged elegance. This style often incorporates exposed beams and a stone fireplace to further emphasize the natural elements.
- Modern Style: In contrast, a sleek, contemporary home might feature narrow, smooth cedar siding, stained in a clean, neutral tone like a light gray or charcoal. The clean lines and minimalist aesthetic are highlighted by the simplicity of the siding. This style often incorporates large windows and geometric shapes to complement the modern feel. The cedar provides a natural warmth that balances the cool tones of the modern design.
- Traditional Style: A traditional colonial home might utilize cedar clapboard siding, painted a classic white or a muted, sophisticated color like deep blue or sage green. The refined appearance of the clapboard siding contributes to the home’s stately and timeless appeal. This style often incorporates symmetrical design elements and detailed trim work, complementing the neat and precise lines of the cedar siding.
Incorporating Cedar Siding into Home Designs
Cedar siding isn’t limited to full-house coverage; it can be strategically employed to enhance specific architectural features and create visual interest.
Choosing the right application method depends on your home’s style, budget, and desired aesthetic outcome. Consider the overall visual impact and the interplay between the cedar and other materials.
- Full Siding: A classic approach, full cedar siding provides a consistent, cohesive look. The choice of plank width and profile significantly impacts the overall aesthetic.
- Accent Walls: Using cedar siding for accent walls introduces a textural contrast against other materials like brick or stucco. This technique is particularly effective in highlighting architectural details or creating a focal point.
- Trim: Cedar can be used as trim around windows, doors, and gables, adding visual interest and enhancing the architectural details of the home. The refined lines of the trim complement the overall design.
Cedar Siding Color Schemes and Staining Options
The natural beauty of cedar can be enhanced through careful consideration of color schemes and staining options. Choosing the right stain not only protects the wood but also dramatically influences the overall look and feel of your home.
- Warm Tones: A palette of warm browns, reds, and golds enhances the natural richness of the cedar. Think honey tones, burnt umber, or deep mahogany stains. These colors create a cozy and inviting atmosphere, particularly suited for rustic or traditional styles.
- Cool Tones: Gray, blue, and green tones provide a more modern and sophisticated look. Consider soft grays that mimic weathered wood, or deeper blues and greens that evoke a sense of tranquility. These colors are ideal for contemporary or coastal styles.
- Neutral Tones: Natural, unstained cedar or a clear sealant allows the wood’s natural beauty to shine through. This option is versatile and complements various architectural styles. It offers a clean, minimalist look while still maintaining the warmth of natural wood.
Cedar Siding vs. Alternatives
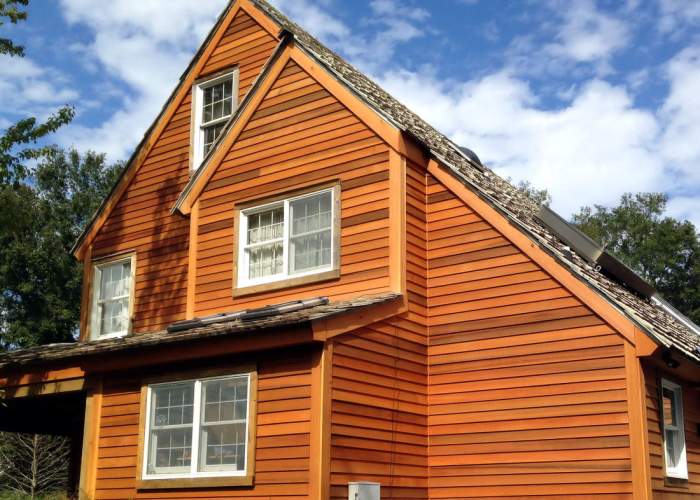
Choosing the right exterior cladding for your home is a crucial decision impacting aesthetics, longevity, and budget. While cedar siding offers undeniable charm and natural beauty, it’s essential to weigh its advantages and disadvantages against other popular options to make an informed choice. This comparison will analyze cedar siding’s performance relative to vinyl, fiber cement, and brick, considering cost, durability, and maintenance needs.
Understanding the trade-offs between different siding materials is key to maximizing your return on investment and ensuring your home’s long-term curb appeal. Factors like climate, budget, and personal preference will heavily influence the optimal choice.
Comparative Analysis of Siding Materials
The following table provides a direct comparison of cedar siding against vinyl, fiber cement, and brick, considering key factors influencing material selection. Note that costs can vary significantly based on location, quality, and installation complexity.
| Material | Cost (Relative) | Durability | Maintenance |
|---|---|---|---|
| Cedar Siding | High | Moderate to High (depending on treatment) | Moderate to High (staining, sealing required) |
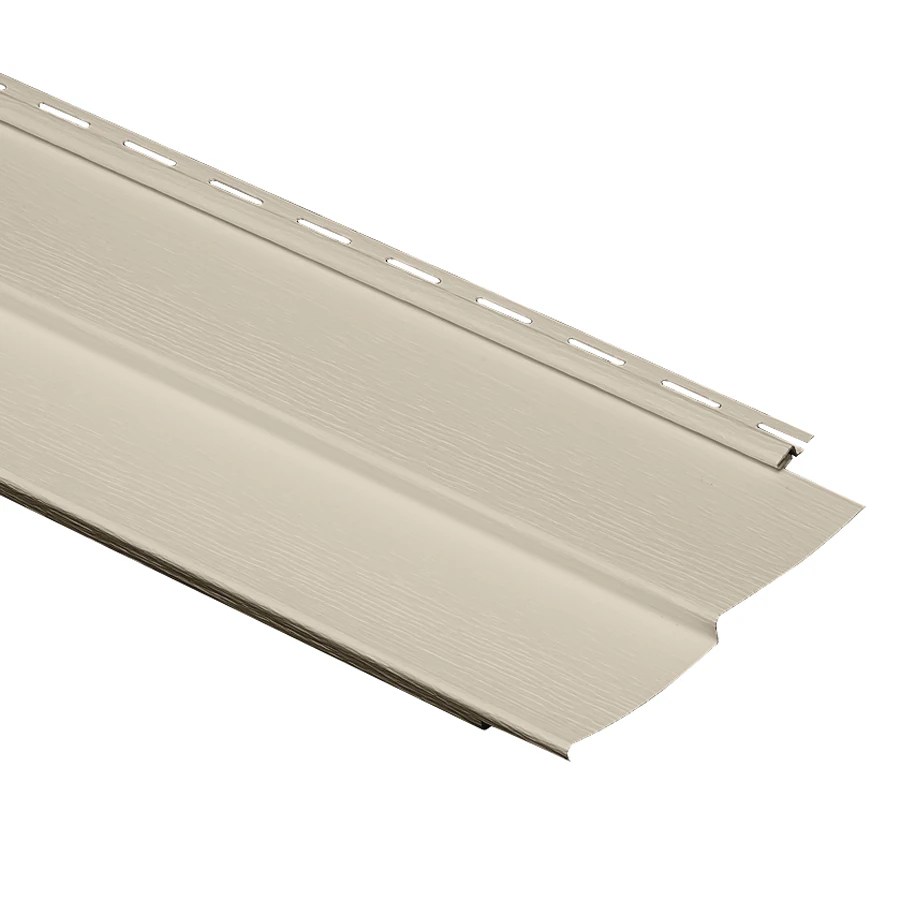
| Vinyl Siding | Low to Moderate | High (resistant to rot and insects) | Low (minimal cleaning required) |
| Fiber Cement Siding | Moderate to High | Very High (fire-resistant, durable) | Low (minimal cleaning required) |
| Brick Siding | High | Very High (extremely durable, long lifespan) | Low (minimal maintenance needed) |
Environmental Impact Considerations
The environmental impact of siding materials extends beyond initial production to encompass their lifespan and eventual disposal. Cedar, being a natural product, offers a certain degree of sustainability, particularly when sourced from responsibly managed forests. However, the processing and transportation of cedar, along with the need for periodic treatments, can offset some of these benefits.
Vinyl siding, while readily available and affordable, is a petroleum-based product with a significant carbon footprint during manufacturing and disposal. Fiber cement siding, often composed of cement, sand, and cellulose fibers, generally has a lower environmental impact than vinyl, though its manufacturing process still consumes energy. Brick, a naturally occurring material, boasts excellent longevity and minimal environmental impact, but its production requires high temperatures and significant energy consumption.
Ultimately, the “greenest” choice depends on a holistic assessment of factors including sourcing practices, manufacturing processes, lifespan, and end-of-life management. Choosing sustainably harvested cedar and prioritizing materials with long lifespans helps minimize the overall environmental footprint of your home’s exterior.
Ultimately, choosing cedar siding is an investment in both the aesthetic and structural integrity of your home. By understanding the various types, installation techniques, and maintenance requirements, you can confidently select and install cedar siding that enhances your home’s curb appeal and provides lasting value. Remember to factor in your budget, architectural style, and long-term maintenance considerations. With careful planning and execution, your cedar siding will become a source of pride and enjoyment for years to come, showcasing the enduring beauty of nature.
General Inquiries
How long does cedar siding last?
With proper maintenance, cedar siding can last 30-50 years or even longer. The lifespan depends on the cedar species, climate, and maintenance practices.
Is cedar siding fire-resistant?
Cedar siding is naturally resistant to fire, but it’s not fireproof. Treatment with fire-retardant chemicals can improve its fire resistance.
Can I paint cedar siding?
Yes, you can paint cedar siding, but it’s generally recommended to use a stain instead to allow the natural beauty of the wood to show through. Painting can also trap moisture.
How much does cedar siding installation cost?
The cost varies greatly depending on the type of cedar, labor costs, and project size. Expect to pay anywhere from $5 to $15+ per square foot.
Does cedar siding require special cleaning products?
Generally, a mild soap and water solution is sufficient for cleaning cedar siding. Avoid harsh chemicals that can damage the wood.
